//ArrowChat Code
Page 1 of 2 1 2 LastLast
Results 1 to 15 of 25

Thread: ATC 1980 - 185. She aint pretty but she'll do

  1. #1
    Join Date
    Sep 2013
    Location
    United States
    --
    36

    ATC 1980 - 185. She aint pretty but she'll do

    So, 3 weeks ago i bought an 83' blue honda 110 as a hunting rig. Looking for help I found this place, and what a great place it is.

    Anyway, 3 weeks pass and it turns out i've got some weird trike addiction now (which i totally blame on this site), i cant help but keep looking on CL for 'deals'. So, this thing pops up, i talk him down to $300 and now i have a better hunting rig and a little blue thing for fun as well. This old thing is bigger, has the hitch option and already has the racks on it so seems more practical. The front one is ugly but practical.

    I managed to break the starter rope as soon as i got it home so looks like i'm going inside to fix that up. It had a new carb on it last year but it has also been sat for a year. It started first time when I bought it and drove around nicely enough, though it didn't idle for long before cutting. Inside of the tank looks rusty so that's going to need a clean. I'm no mechanic so taking off the carb is daunting to me but I guess that needs to be done as well.

    Front brake doesn't work and for some reason this thing has both a foot pedal and hand lever for the rear brake, any reason ? Hand lever is locked solid and the foot pedal seems to be sticking so that's going to need looking at. Other than a rusty outlet/exhaust the engine looks pretty clean. Its had 2 Owners, the second took it as payment from an original lady owner who had kept it in her barn. I bought it from the second guy who had used it on his deer lease to get about so don't think its had a tough life.

    The second owner resprayed most of the metal frame parts a while back to protect from rust and also refinished the plastics which seem to be in decent condition

    I have a couple of questions.

    1. Why has it got weird fork extensions on it (see pic below)? Havn't seen these on any others, any idea what the purpose is?


    2. What should this do? It moves up and down and looks like it should be connected to something?


  2. #2
    Join Date
    Aug 2008
    Location
    MN
    --
    3,260
    The extensions on the forks are supposed to move the front wheel farther out for better stability. Actually pretty rare to find them from my point of view, i don't find those extensions too often!

    The brake is normal, they had a hand and foot lever for the rear brake, just made it so you could use either. And its nice having both in my opinion.

    As for the lever on the engine, thats the decompression lever, you flip that up and it stays up, that opens the exhaust valve so you can pull it over and get it spinning easier with the recoil, as it starts to turn over the decomp lever drops and resets on its own.

    That looks more like a 200 motor than a 185 though, unless its a mish mash of two motors. Look at the cylinder base, see what is says for size, 192cm is a 200. Curious if that has a 200 top end on it or if its a 200 to start with. The 185's had a decomp that was actuated by a cable to the recoil, so when you pulled the recoil it automatically lifted it.

    One suggestion... Remove the valve caps and clean all that damn RTV off there, the orange crap, get a couple new o-rings for the caps and put them back on. I hate when those get RTV'ed, just looks like heck. As for the rest of the RTV around the advancer cover and head, etc... If its not leaking leave it be and just take a wire brush and a pick and clean up all the excess to make it look nicer at least! LOL.. but on those caps i would definitely get rid of that, last thing you want is a chunk of RTV getting into the motor and starving it for oil circulation.

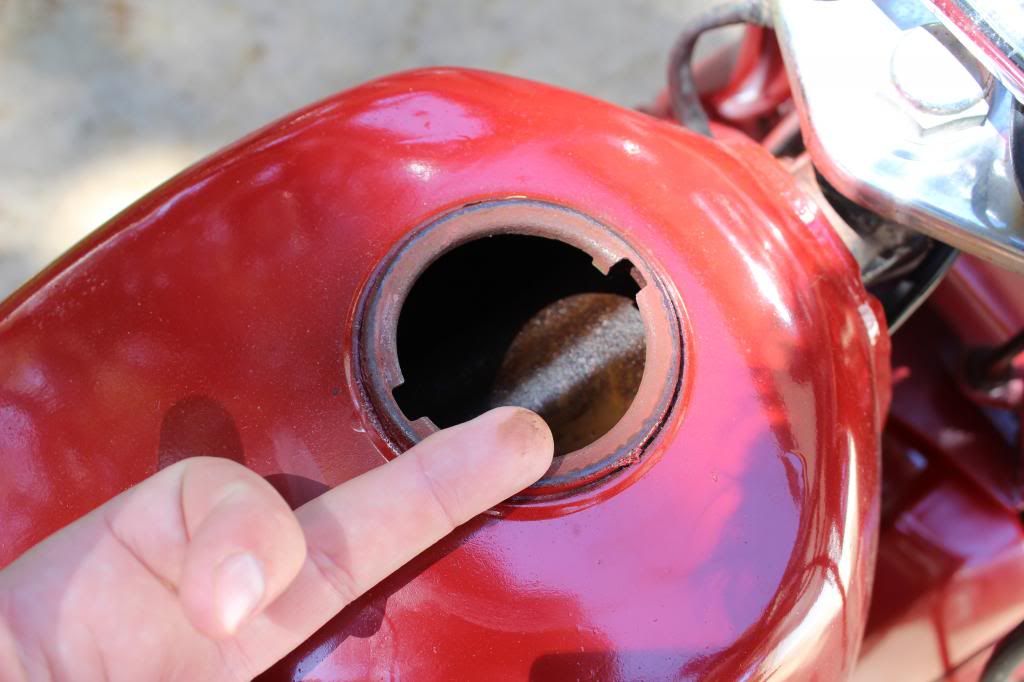
    A hint for getting the carb off these... disconnect the fuel line and remove the tank, unscrew and remove the throttle slide and cable from the top of the carb, then remove the bolts from the rubber intake at the engine/head side, then loosen the hose clamp that fastens the back end to the airbox. Now you can just pull the carb off the airbox and take it off with the intake. Lots easier than removing the airbox. I can usually strip them off pretty fast that way. Make sure you replace the o-ring on the front of the carb and the front of the intake as well to prevent air leaks. Those two o-rings and the ones for the valve caps are easy enough to find a universal replacement at any auto parts store. I just take them in and compare to ones they have in their big assortment box.
    ---------------------------------------------------------
    1984 Honda ATC200ES "Big Red"
    1982 ATC200E "Hondie"
    1988 TRX300FW "Project Quad" Still in progress....

  3. #3
    Join Date
    Mar 2013
    Location
    Central PA
    --
    2,362
    Another reason for having a hand lever control the back brakes is because that one should have a parking brake on it. Unless that was just on later models.

  4. #4
    Join Date
    Dec 2012
    Location
    Vancouver Island, B.C., Canada
    --
    812
    Nice find indeed! That's a skookum hitch you got on that thing. This rig will serve you well for hunting. Sure the front rack is ugly as you know what, but if it serves a practical function for you then leave it on.
    KB0nly touched on pretty much everything, but I'd also lube your cables (I just bought a cable luber and they work great for this), or you may need to replace the cables altogether. Could be part of the reason why the brakes are sticking. As for the tank, fill it up with apple cider vinegar, let it sit for a couple days (shaking it every few hours), then dump it out. You'll be surprised how much of that rust crap will get knocked off with this simple technique. Just remember to take the petcock off cause the acid in the vinegar likes to eat rubber seals and aluminum.
    1985 Honda ATC 250ES
    1985 Honda ATC 250SX
    1984 Honda ATC 200M
    1983 Honda ATC 200
    1984 Honda ATC 110

  5. #5
    Join Date
    Sep 2013
    Location
    United States
    --
    36
    The cylinder base say 180cm.

    That orange RVT stuff is all over, might be a while before i start dismantling the thing enough to take that stuff out.

    Thanks for the tips on getting the carb off. I'll tackle that later this week.

  6. #6
    dman10's Avatar
    dman10 is offline At The Back Of The Pack Arm chair racerAt the back of the pack
    Join Date
    Jul 2013
    Location
    Elgin, TX
    --
    402
    When you replace that pull rope, be CAREFUL!!!! When you pull the rope wheel doo-dad thing out, try to leave the spring in, otherwise your going to have a miserable time putting it back in.
    Quote Originally Posted by tri again View Post
    Cool stuff seems to happen when I'm sleeping.
    Nice to know things happen without me.

  7. #7
    Join Date
    Mar 2013
    Location
    Central PA
    --
    2,362
    There is some videos on YouTube about how to replace a recoil sting on a atc. That's what helped me. Only problem I had was I ended up having to redo it it a few times because I didn't wind it up enough. I didn't know you had to wind it up THAT much and didn't have a clamp strong enough to hold it while I threaded the string through the hole.
    Sometimes you can get away with not even replacing it if it's long enough yet and still in good condition.

  8. #8
    Join Date
    Sep 2013
    Location
    United States
    --
    36
    Thanks for the info guys. All of the videos i've seen on youtube seem to have been complete teardowns of the recoil including spring replacement.

    The only thing i've found that documents just replacing the starter rope seems to be the manual itself.

    Could someone point me in the direction of one of these videos?

    Thanks

  9. #9
    Join Date
    Mar 2013
    Location
    Central PA
    --
    2,362
    When you replace a recoil on a atc, you pretty much are doing a complete teardown. I never thought it would be that complicated until I did mine. Only thing you do not take out is the thing that the rope winds around itself and anything under that (spring). Maybe yours will be a little simpler because you do not have to worry about the wire that connects the recoil to the decompression lever since it's an older one. Ill try to find a video when I get to a computer. Took me awhile to find one too.

  10. #10
    Join Date
    Jul 2013
    Location
    mo
    --
    327
    Thumbs up on the apple vider vinager. Did two tanks and works awesome. Use baking soda and a power sprayer to neutralize it.
    http://www.youtube.com/user/effortequalsresults
    83 atc 110
    77 atc 90
    80 atc 110
    85 200x
    85 200x
    87 250es
    79 atc 110
    1978 atc90
    1985 200s
    1985 atc70
    1983 atc 70

  11. #11
    Join Date
    May 2012
    Location
    Alaska
    --
    10
    Looks good!

  12. #12
    Join Date
    Aug 2013
    Location
    Memphis, TN
    --
    88
    Pretty nice looking machine for 300.00! I started reading this site, too, a few weeks back and now there are two 125's and an '83 200e in my backyard. None of mine were in near as good a shape as your 185 though, I'm getting a crash course in honda atv wrenching. I was skeptical of the vinegar thing, but it really works. Used this on the 200e's recoil housing which was VERY rusty,,,worked wonders.

    The 125m manual I downloaded from kb has a good description of servicing the recoil starter. I also watched youtube videos that were helpful. I had a buddy thread the rope while I held it in place with the holes aligned after winding the spring a couple complete turns, would have been much tougher without an assistant? I would avoid letting the spring out of its carrier if possible, that's the most tedious part of putting one back together (but still very doable, just tedious).

    Congrats on your find.

    Dave
    Last edited by auto5man; 09-24-2013 at 01:00 AM. Reason: Typo

  13. #13
    Join Date
    Sep 2013
    Location
    United States
    --
    36
    Thanks AutoMan. I think i'm trying to get myself on that same crash course! I don't mind getting my hands dirty, my only fear is taking tearing something down and screwing it up.Anyway, i'm going to have a crack at the rope today. I guess the beauty of having more than 1 trike is that you should always have something to ride if you're fixing up the other. That was my thought anyway as i can't be without wheels when i'm out at the hunting lease.

    Here was the other one i bought 3 weeks back, also for $300. I think its had a pretty tough life but its a first time starter and i really like the blue.

    http://www.3wheelerworld.com/showthr...ldhood-is-back!

  14. #14
    Join Date
    Sep 2013
    Location
    United States
    --
    36
    So i've taken the recoil housing down and its pretty dirty inside. I'd like to give it a clean, but i'm also weary of taking that darn spring out.

    I have a question that is probably going to show how little work i've done on machines up until now but....

    What should i be using to clean internal metal parts like this ? And what should i lube them up with once clean ?

    Thanks,


  15. #15
    Join Date
    Mar 2013
    Location
    Central PA
    --
    2,362
    I dont know exactly what to clean it and lubricate it with since mine was still fresh from the factory pretty much. That should be sealed with a gasket to prevent it from corroding like that so my advice is make sure you get a gasket for that and make sure the handle is nice and tight once you let the handle go and its returned to its resting position. As in make sure you wind it up enough when you restring it. That should guarantee a good seal.

//ArrowChat Integreation Code //