
Working on this dx. Top end rebuild, plastic polish, new custom graphics etc.
. Attachment 184237

 Trikein' Away
Lord of the trike
Trikein' Away
Lord of the trike
Working on this dx. Top end rebuild, plastic polish, new custom graphics etc.
Just Too Addicted
Arm chair racerJust too addicted
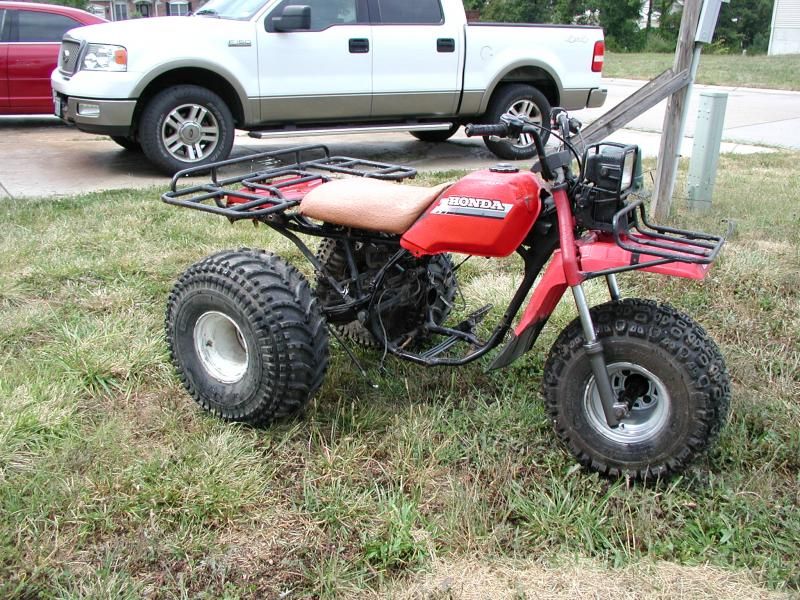
This thing is like a bad penny , I traded it off 3 times , now its back again . Not sure what I'm gonna do but it is callin my name .
Registered User
New to the board
I've got an '83 200E I'm bringing back to life. Owned it about 12 years and been sitting for awhile. Need to recover seat and rebuild carb. Pics to follow.
Got The Holeshot
Arm chair racerJust too addicted
chopsaw.. how on earth did you get it back 3 times? haha was it to a friend or something?
Swat.. yes please upload some pics! Would love to see it.
1986 250r - Fully rebuilt from the ground up!
- http://www.3wheelerworld.com/showthr...ATC-250r-Build
1985 Tri Z - Next project!
1982 250r - Sold
1983 Auto X - Sold
1984 Auto X - Sold
1985 200M - Sold
1985 YTM 125 - Sold
1985 185 - Sold
1984 185 - Sold
1/21/2013 - RIP Grandpa Rosa, great man, will be missed.. Love you
Check out my feedback:
http://www.3wheelerworld.com/showthr...k-for-CodyRosa
Just Too Addicted
Arm chair racerJust too addicted
I bought it for $150 with a blown top end because it had a new knobby front tire that I used on my 200es . I then traded it to a guy for SX parts . He ended up bringing it back . So I gave it to a buddy that had a running SX engine . A year later he decides he wants to buy one running , so its back again . I have a SX engine , geuss I'll throw it in .Originally Posted by CodyRosa

At The Back Of The Pack
Arm chair racerFirst time rider
Scooped another project. This one will be taking priority over the YTM this ones closer to being complete

Registered User
New to the board
Finally got to spend a couple of hours on the Big Red. Took the gas tank off and found the cap was rusted shut... and could hear lots of rust particles inside. With a lot of twisting and prying, I got the cap off - it was in a crusty state.
I took it to the blasting cabinet and it came out pretty clean. Lots of pitting but solid and functional.

I dumped a FEW OUNCES of rust flakes out of the tank and could see a lot of pitting and holes as a result. I'll have to patch the holes before I continue with a rust removal project.
I took the petcock out for inspection. It was working well and didn't have any damage, but while I had it off, I taped up the ports and gave it a blasting to clean the outside. Pretty clean outcome - I can read the valve positions now...
I'll have to re-cover the seat, and while I was removing the remnants of the original cover, I noticed the tab on the tool compartment was rusted out and not holding in the slot. When I tried to unscrew the wing nut, I sheared the bolt off almost flush with the seat base. I ended up having to drill out the broken bolt and replace a piece of the sheet metal with a threaded nut underneath to accept a new thumb bolt. I also cut off the rusted tab and welded on a new tab to fit into the slot.
There's much more work ahead. I've never done a restore project, so I'm learning as I go. I'll try to document the progress in this thread.
Last edited by swat253; 01-21-2014 at 01:36 AM. Reason: Add Pics
Registered User
New to the board
I'm thinking about the "cider vinegar" technique for stripping the rust from the tank. Anyone ever use this method - or have another method that works well?
I've used electrolysis for removing outer rust and it works well - just never used that method for an interior job.
At The Back Of The Pack
Arm chair racerFirst time rider
I think that tank is toast, look for another one or go plastic.
Registered User
New to the board
Yeah cap, I've got a couple of used tanks spotted, but like all Big Red parts these days, they're wanting an arm and BOTH legs for 'em!
With the holes being on the bottom, I'm gonna beef it up and seal it with JB Weld or Bondo. Once it's solid again, I'll fabricate some kind of roller and rattle some pistol brass in it to knock off more rust, then follow up with the vinegar wash and/or electrolysis.
Got The Holeshot
Arm chair racerJust too addicted
wow that tank is ridiculous.. i cleaned mine with "the works" and it left pin holes on the edges of the tank. I put JB weld putty along the holes and it worked great.
wish i had a bead blaster.. your very lucky haha
1986 250r - Fully rebuilt from the ground up!
- http://www.3wheelerworld.com/showthr...ATC-250r-Build
1985 Tri Z - Next project!
1982 250r - Sold
1983 Auto X - Sold
1984 Auto X - Sold
1985 200M - Sold
1985 YTM 125 - Sold
1985 185 - Sold
1984 185 - Sold
1/21/2013 - RIP Grandpa Rosa, great man, will be missed.. Love you
Check out my feedback:
http://www.3wheelerworld.com/showthr...k-for-CodyRosa
Registered User
New to the board
thanks for this post
James Valencia
Registered User
New to the board
just keep at it.......
the prize is worth all the time input!!!!
Registered User
New to the board
so to be at the FRONT of the PACK
New to the board
Arm chair racerNew to the board
I have been doing a Tri Z missile build, and should be complete in the next few weeks. Built from mostly extra parts and a yz engine

 Reply With Quote

