//ArrowChat Code
Page 4 of 5 FirstFirst ... 2 3 4 5 LastLast
Results 46 to 60 of 64

Thread: How it's Done

  1. #46
    Join Date
    Aug 2015
    Location
    Portland Oregon
    --
    174

    Question Mounting a cyliner on a 3 jaw chuck

    Using your 3 jaw chuck to mount your cylinder

    Did you ever have a need to mount a cylinder to clean a top or bottom gasket surface
    This is a technique which we occasionally use when a center & mandrel are in the way.
    We first need an extra set of jaws; the jaws are mounted on the chuck & clamped as usual.

    With this particular application 3, 1” round rods were welded to the extra set of jaws


    The problem with my idea is that a 2” 125cc cylinder was too small to fit over the 3 extended jaws. Next was the problem of accurately machining the jaws to accept the 2” bore cylinder. The jaws needed to be expanded & machined under load to be accurate.

    I scrounged a length of ¼” brass rod which could be any ¼” rod; also a small cut of round tube. Brad drilled a ¼” hole in each chuck jaw.

    After the 3 holes were drilled the 1” pieces of brass rod were inserted.


    Finally I slipped the piece of tube over the 3 brass rods & opened the chuck lightly to put a load on the jaws.

    With the load on the jaws, they can be accurately machined down until the 125cc KTM cylinder fits over.

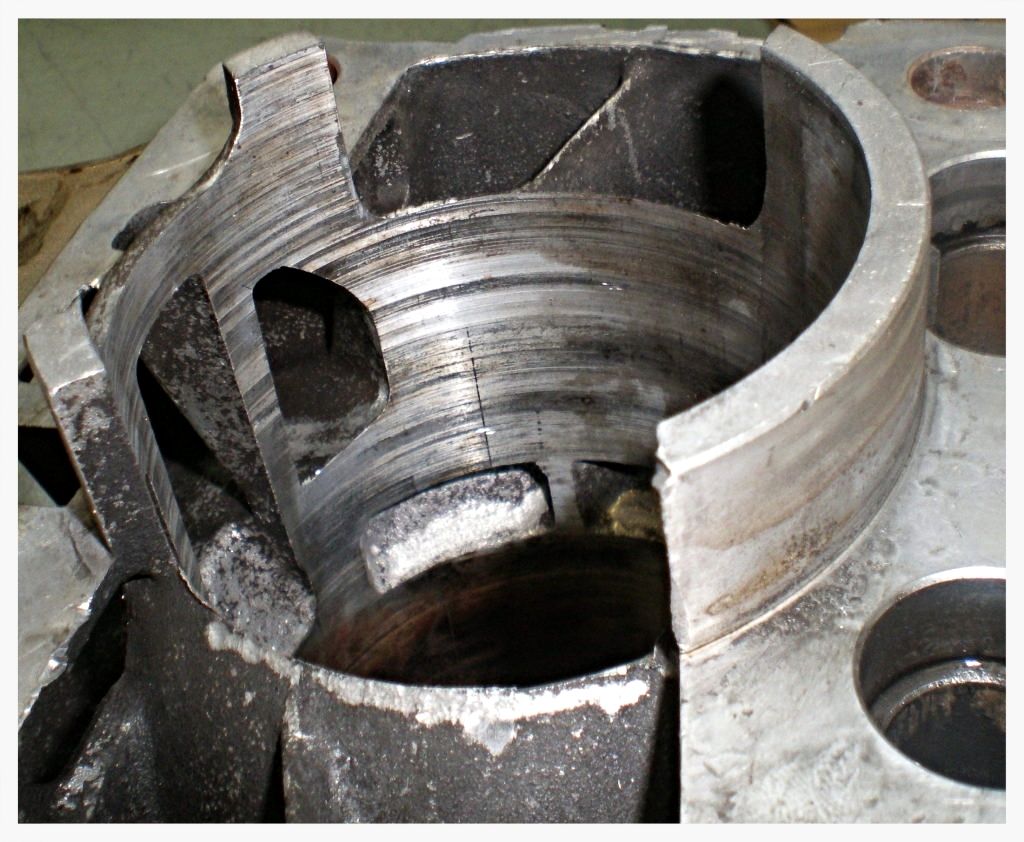
    The 125cc KTM cylinder is counter bored on the upper end of the cylinder which makes things tricky when a new sleeve is installed.

    After we slide the cylinder on the jaws, a pipe center is bumped from the tail stock to ensure concentricity of the cylinder.


    It’s easy to do the counter boring operation with the tailstock side of the cylinder clear of obstructions.


    The base is accurately trimmed

    Your questions & comments are more than welcomed; we all learn together.


    John Tice
    503-593-2908 Alternate 541-508-3944
    www.smallenginemachineworks.com & www.nwsleeve.com
    Turning Custom Cylinder Sleeves Since 1971
    http://forums.everything2stroke.com/...d-the-Shop.com


  2. #47
    Join Date
    Aug 2015
    Location
    Portland Oregon
    --
    174

    Question More on Skirt Clearances

    Let’s back up a page or so & talk about skirt clearances. There is a lot to think about in piston fits, Plate or sleeve. First; it’s commonly thought that a plated cylinder dissipates heat much better; therefore the plated cylinder uses a much tighter cylinder skirt clearance. It’s time to back up another page or so & consider how tight the sleeve is fit into your aluminum cylinder? LA sleeve & Advanced Cylinder Sleeve companies both tell how tight the new sleeve needs to fit, true enough but how is the sleeve fit in your aluminum cylinder?
    If you take your top end to your favorite “Hot Shoe” racing cycle shop & have them fit a new ported sleeve; how is your new sleeve fit to your cylinder, knowing how tight is only the start.

    At times a cylinder which has been sleeved by others comes to us for repairs. The sleeve was manufactured by one of the previous mentioned companies. The Sleeve was beautifully produced but had a Bum fit. This conversation has nothing to do with the manufacturers mentioned.


    This is what our customer got from another “Hot Shoe” rebuilder & tuner. I suspect that the shop knew that the fit was incorrect but was helpless for a repair solution.

    Fitting a sleeve is much like fitting a piston; the final honed fit must be precise.

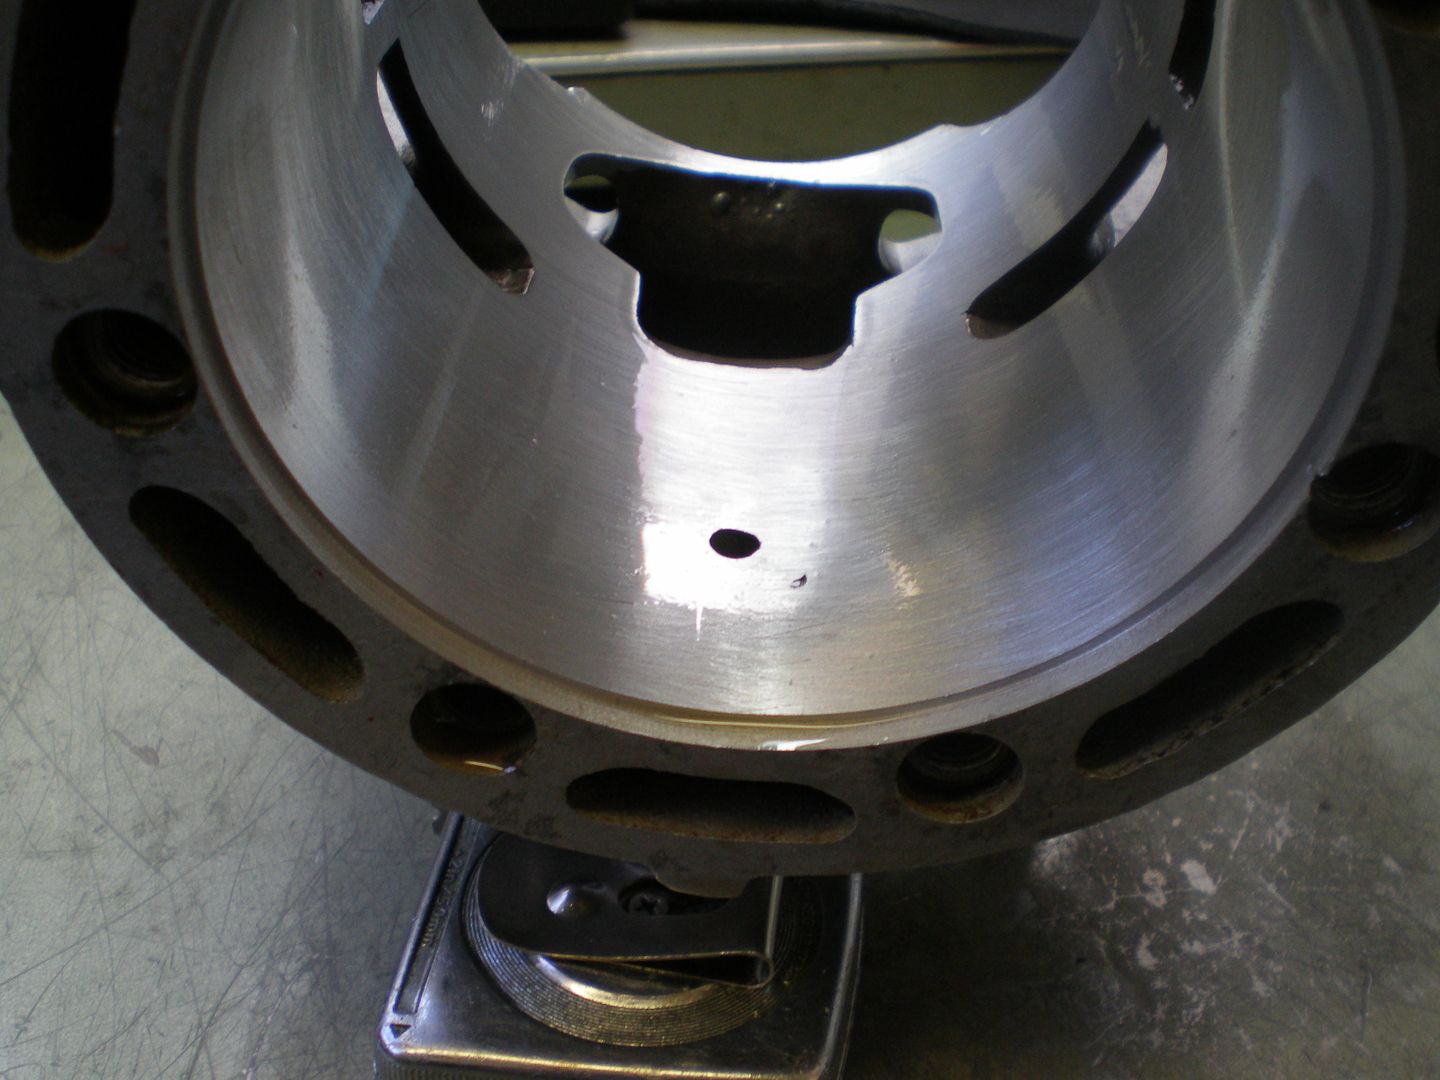
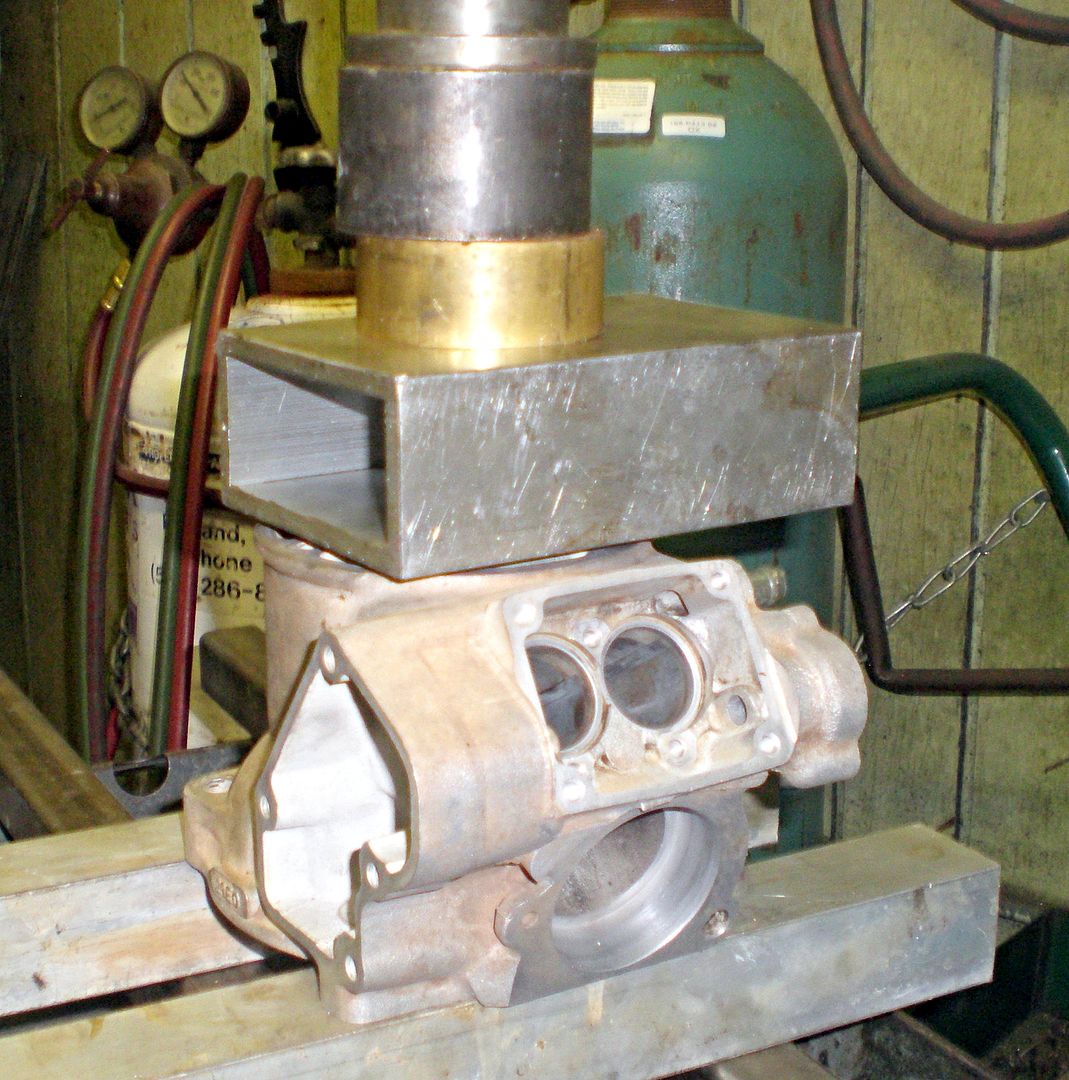
    A CR500 Honda cylinder waiting for the new sleeve.

    After the precise honed fit has been produced; the press fit which has been previously determined needs to be reconsidered. The sleeve fit helps determine the final piston skirt clearance.

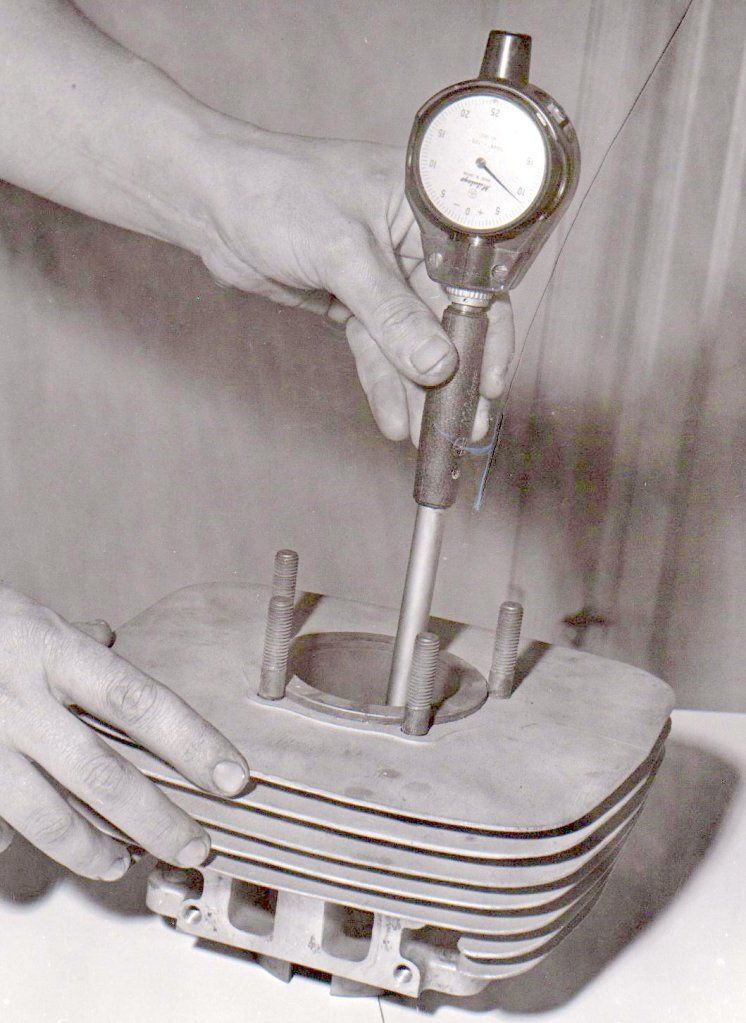
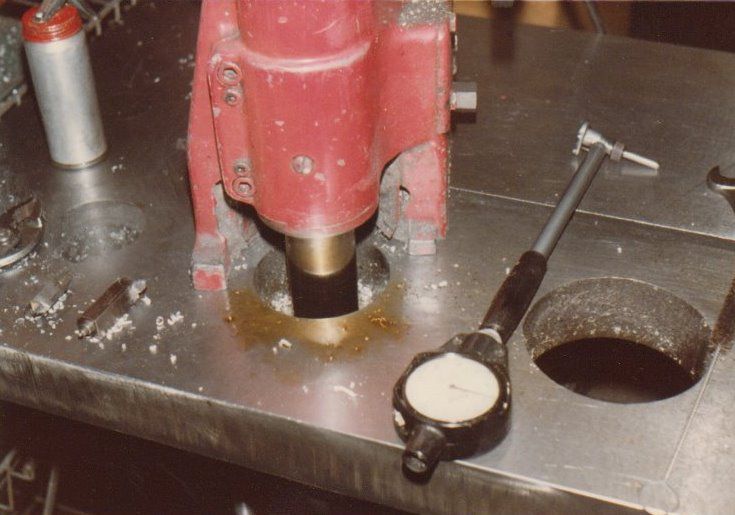
    An accurate dial bore gauge is a must in every engine builder’s tool box
    The key to this precision fitting business is the coefficient of linier expansion of cast iron & aluminum. When heated to higher temperatures, aluminum expands significantly more than does cast iron. We use 500 degrees for our elevated temperature to insert cylinder sleeves. It’s highly recommended that the machinist measure both the aluminum cylinder & iron sleeve at room temperature & 500 deg. This is the key to figuring the new sleeve’s shrink or press fits. In our shop we use a -.002” for 125’s & smaller, -.003” for 250’s & -.004” for 500cc cylinders. It’s highly recommended that temperature & size measurements are periodically taken. In the process of doing cylinder liner installations; I’ve found that Honda & Yamaha periodically fit sleeves from -.001” to -.0015” press fits. With these looser fits the stock OEM liners can usually be pressed in & out at room temperatures.

    How do we fit our sleeve installations? We first ruff bore a plated cylinder +.250” larger than the std. bore diameter. This will net the final sleeve thickness of 1mm after the cylinder has been over bored another 2mm oversize. The final sleeve thickness is rather thin but necessary to ensure proper function of any power valve installations. This is the general oversize of sleeve in a 2 stroke bore; we’ve got an Excel spread sheet programmed to produce bore consistency.
    Next the new cylinder sleeve is ruff turned to +.010” larger than the aluminum cylinder. With the new sleeve +.010” larger than your cylinder bore; the aluminum cylinder is finally precession honed to the new sleeve press fit. I use this system of fitting the new sleeve as it helps greatly if making a mistake fit.
    With all of these dimensions flying around in every direction; it’s necessary for the engine builder to have a thorough knowledge of arithmetic & geometry. Have a few hand calculators in your shop for handy instant access. Remember that 4”/ .03937 = 101.6mm, the conversion factor from inches to millimeters.

    After the cylinder is heated, the new sleeve is lowered & alined. A light press is applied to the top of the sleeve to make sure it’s bedded in place.


    After the final bore is completed, off to the cylinder hone. We use a Sunnen connecting rod hone as it gives the best control of cylinder sizing. Yes; you need the proper piston skirt clearance, but as of the clearance the cylinder must also be round & straight. Squaring with the bore is best accomplished by mounting a cylinder upside down. (More on this in other sections)
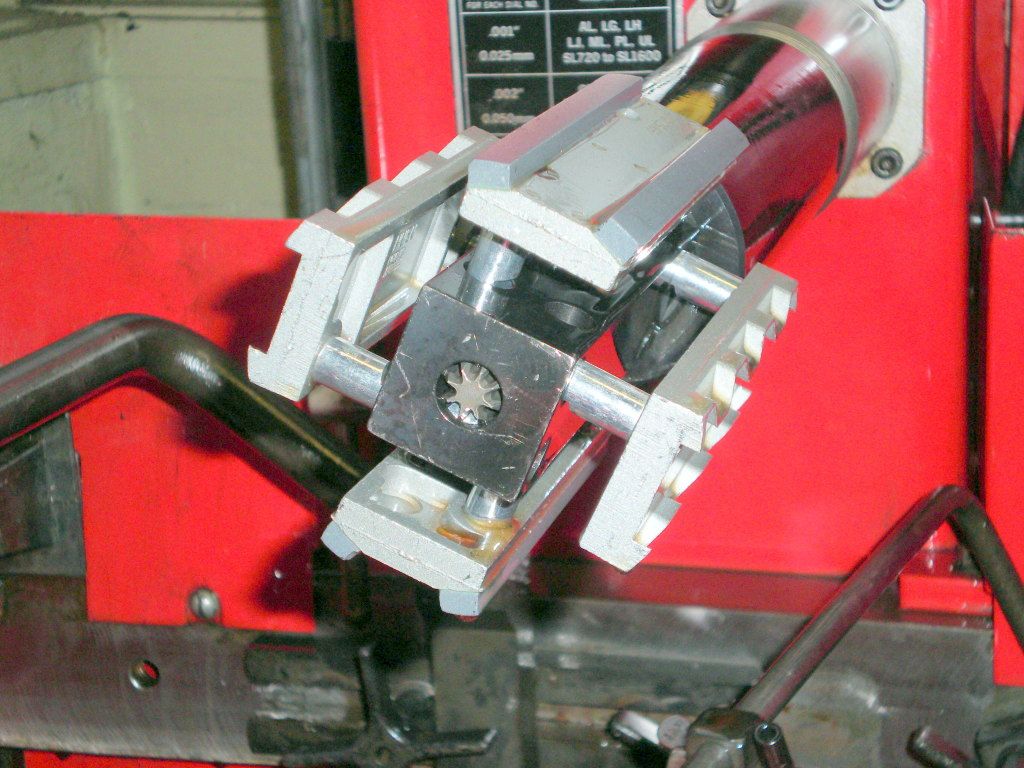
    I use a double stone three point connecting rod mandrel for cylinders under 2-1/2” in bore diameter. Above 2-1/2” a double stone “AN” type of mandrel is used. Both of these mandrels render a smooth round & straight bore when used by a skilled operator.


    Large hone type “AN” head for bores larger tan 2-1/2”


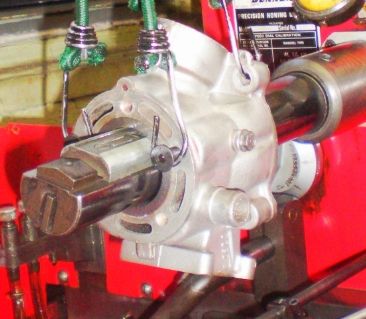
    Smaller 3 point mandrel used for cylinders less than 2-1/2”.
    You may notice the cylinder hanging by a couple of Bungee cords. With my bad back as many of us suffer from; the cylinders are hanging from the ceiling which enables the cylinder to be flipped from end to end, taper control & easy measurements.
    (Other types of honing equipment are noted in another section.)

    Back to the Skirt clearances; I use the resources of Wiesco piston who has a cycle engine mounted on a Dyno for testing skirt clearances. Wiesco claims that their forged pistons are machined in such a manner that they need barely more than a zero skirt clearance to run without seizing. Granted this is only for testing purposes.
    I’ve found that the recommended skirt clearances which are printed on each Wiesco piston box; works fine for most cast & forged 2 stroke pistons. With the very short skirts on late model 4 stroke engines, it’s wise to contact the particular piston manufacturer for clearance advice. Now days both types of pistons are machined to run minimal skirt clearances. After the honing is complete the ports are deburred & the cylinder is rinsed in the parts washer. The measuring tools are rechecked for accuracy; the skirt clearance is double checked, the piston is fit, top & bottom of the cylinder. Any discrepancy in accuracy can be corrected before the job is delivered.
    Cast or forged pistons; sleeved or plated bores, when we hone the final skirt clearance; I most always add +.0005” to the recommended fits. With this slight addition to the clearance; I maintain that both types of cylinders each have close to the same heat dissipation rate.
    You’re comments & criticism is more than welcome; we all learn together.

    John Tice
    503-593-2908 Alternate 541-508-3944
    www.smallenginemachineworks.com & www.nwsleeve.com
    Turning Custom Cylinder Sleeves Since 1971
    http://forums.everything2stroke.com/...d-the-Shop.com

  3. #48
    Join Date
    Aug 2015
    Location
    Portland Oregon
    --
    174

    Question Start a new career

    “How it’s Done” Can be the start of a new career for those who read the thread. We need new blood in the cylinder & machine shop area. I’ll help you get started at no cost; We spend hours on the evening phone tutoring new & prospective students. Whether setting up new equipment or learning how to operate your cylinder boring machine. Give me a call most any evening until 9pm pacific.


    John Tice
    503-593-2908 Alternate 541-508-3944
    www.smallenginemachineworks.com & www.nwsleeve.com
    Turning Custom Cylinder Sleeves Since 1971
    http://forums.everything2stroke.com/...d-the-Shop.com
    Last edited by John Tice; 05-17-2016 at 08:12 AM.

  4. #49
    Join Date
    Apr 2011
    Location
    Mexico
    --
    9,010
    Just curious about the table in post #27. Did you have it stress relived before the machine work was done?
    It sucks to get old

  5. #50
    Join Date
    Aug 2015
    Location
    Portland Oregon
    --
    174
    Good question; no stress relief. This is the fourth table which I’ve fabricated up. Never any problems, the first one which I did some 35 years ago; we had to regrind it from warping after doing a few thousand cylinders.
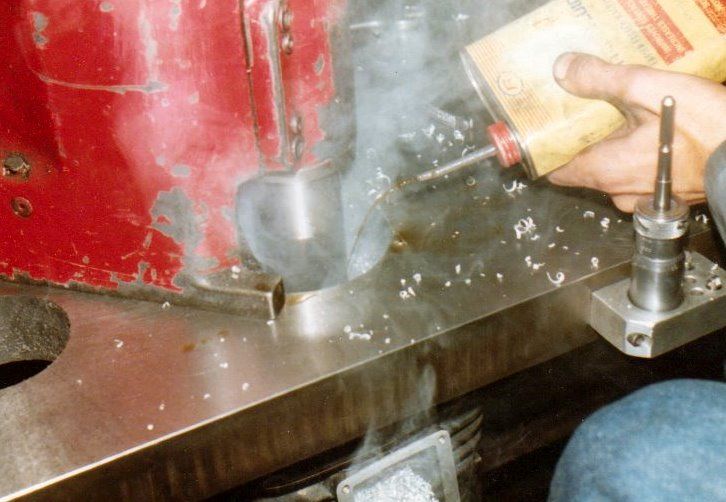
    My first boring stand; 1-3/4” steel plate

    1-3/4” – 3-1/2”

    2-1/4” - 4” capacity
    You may notice the early model Kwik Way machines; we bored our first thousand cylinders in 1977

  6. #51
    Join Date
    Apr 2011
    Location
    Mexico
    --
    9,010
    I asked because we worked with some large billets at one point making the pivot bars for articulating transit buses. They would start as a 900# billet and end up weighing about 420# when all the chips were swept away. The first attempt without stress reviving resulted in a very expensive pretzel. After that we always stressed relived them. I've had similar experiences with some jig making tables we built. Seems they would all distort a little after a few skim passes, but none were as thick as your slab.

    We did roll some 2" (even up to 4" a few times) plates into electric motor housings (18" to 36" I.D.) and then roughly bored them before sending them out for final machining. They all had to be stress relived as well, but that was partially due to the weld seams.

    Anyway, glad yours worked out
    It sucks to get old

  7. #52
    Join Date
    Aug 2015
    Location
    Portland Oregon
    --
    174
    It would seem as though you people did quite a bit more forming or machine work on your parts. Our surface grinder operator used a feeler gauge after flipping the plate over for grinding the back side. The footprint on the cylinder & boring bar are so small that plate worpage & flex aren’t any issue before this old fart checks out.
    Thank you for the post; maybe in your next life you can take up the trade.

  8. #53
    Join Date
    Apr 2011
    Location
    Mexico
    --
    9,010
    I've worked with metal of one sort or another for over 31 years, including almost 10 around a machine shop, that's plenty for me.

    I do admire your passion for this trade. You can always tell when someone does something they enjoy for a living. I hope you find a competent successor to pass your knowledge onto. Meanwhile please keep the posts coming!
    It sucks to get old

  9. #54
    Join Date
    Oct 2002
    Location
    Northeast
    --
    17,438
    John, I'd be all over this if I had a 30 x 60 shop and could work for you for 2 weeks.

    Whoever dives into this needs to work with you for awhile...

    Steve
    DC
    All our government does is distract us while they steal from us, misspend our tax $ and ruin our country

  10. #55
    Join Date
    Aug 2015
    Location
    Portland Oregon
    --
    174
    Most of this can be taught over the telley; I’ve got a couple of students now, 1 with a Kwik Way FWS & the other with a Bore Master Bench machine. It’s all in feed & speed; with the tool width thrown in when we talk about chatter. Most anyone can learn if you can read a set of measuring tools.
    JT

  11. #56
    Join Date
    Aug 2015
    Location
    Portland Oregon
    --
    174
    07/23/16 How it’s done

    The last few months I’ve been doing a catch up on our work load. For you people who I’ve been dragging my feet, I apologize for being so slow. Since my last entry to this thread; we received a 6 month supply of cylinder repairs in around 2 weeks. It’s taken me since last January to catch up.

    My intent for this thread has always been to encourage others to get involved in the cylinder repair business. I have at this time only a couple of people in any kind of a training program. This is a FREE service for any of you who would be interested. Send me an email or give me an evening call (pacific time) & we can talk about it. There is good money to be made for the right person & I’ll help you get started.

    We are continuing to receive some interesting repairs which I’ll continue to share with all of you.

    A man from Arkansas sent in a V-6 outboard block to replace 1 cylinder sleeve. Unfortunately the shipping is costing as much as the repair itself. Our standard procedure for port marking 2 stroke cylinders is an etch with nitric acid. Since nitric acid attacks any kind of iron material, I was unable to mark the port locations in the standard way. With most outboard cylinders we mark the port locations with a paper trace. The trace is a rather delicate operation but with steady hands the results turn out quite nicely.
    With most outboard blocks it’s necessary to fashion a torque plate to clamp the engine to the cylinder boring stand.


    With a close look you can see the C-clamps holding the block to the boring stand


    We take very light cuts on the sleeve to be replaced until it becomes paper thin & is easily removed with a pair of pliers.


    With a light hand the ports have been marked on scratch paper. The ports are machined on the vertical mill as all of our 2 stroke ports are machined.

    The new sleeve is fit with a shrink fit the same as any other 2 stroke liner. We always heat the block to over 200 degrees to check its particular expansion rate. There is only one chance to align the ports properly before the temperature equalizes between the cylinder & new sleeve.


    The new sleeve is bored to standard & surfaced for a tight head gasket fit.


    Another project was a couple of Ariel square four cylinder blocks. The left one is cast iron & the right one is aluminum with iron sleeves.
    With the iron block the straight sleeves are fit with a -.001” press fit. The aluminum block was fit with flanged sleeves & a -.003” shrink fit. Unfortunately the heavy 35lb. iron block was bumped & a portion of one of the fins was broken off. We TIG welded it back on with silver solder; our customer was not at all happy with the repair, these things happen on occasion.


    The Ariel block being finish honed on our vertical machine


    Another repair is with a slipped sleeve in a 125cc cylinder.

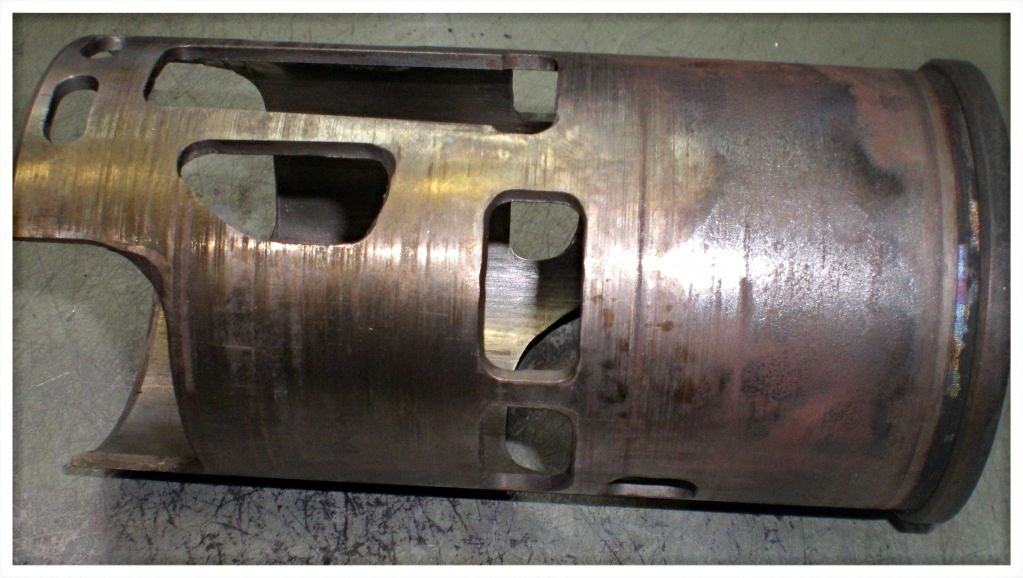
    Whoever installed this new liner really botched the job. We always bore & hone a cylinder before the new sleeve is turned. The fit of your new sleeve is as important as the piston’s skirt clearance.


    We started this repair by mounting the cylinder in the Kwik Way & boring out the sleeve. The sleeve started to spin & jammed up the cutter. The cylinder has been honed round & straight; we’ll turn a new sleeve next week.

    A KX500 Kawasaki was sleeved last week


    The KX500 has unusual exhaust porting


    Not all of the big bore 4 stroke engines have a press or shrink fit liner


    This particular cylinder has a large non slip ring around the center. A rather tricky one to hone, well suited for our power vertical machine.


    Our custom made cylinder sleeves are all machined on our manual machining equipment


    An accurate set of expanding mandrels is the key to concentric cylinder liners


    A surface plate & height gauge is handy while machining new cylinder liners.


    John Tice
    503-593-2908 Alternate 541-508-3944
    www.smallenginemachineworks.com & www.nwsleeve.com
    Turning Custom Cylinder Sleeves Since 1971
    http://forums.everything2stroke.com/...d-the-Shop.com


  12. #57
    arlaunch's Avatar
    arlaunch is offline At The Back Of The Pack Arm chair racerAt the back of the pack
    Join Date
    Jun 2014
    Location
    Oregon City
    --
    346
    This is by far the neatest thread i have ever seen.

    They can't all be stickies but...

    This one deserves it.

    I am going to bring my 350X cylinder, coffee and donuts into this kind fella.

    Thank you for the write up.

    1984 Honda Big Red ATC 200ES (Emma)
    1985 Honda 200X ATC (Pretty Boy)
    1985 Honda 250R ATC (Dr. Fast)
    1985 Honda 250R ATC ( 77 )
    1985 Honda 250R ATC (Baller)
    1986 Honda 350X ATC (Go Go Girl)

    Feed Back: http://www.3wheelerworld.com/showthr...k-for-arlaunch

  13. #58
    Join Date
    Aug 2015
    Location
    Portland Oregon
    --
    174
    I only do cylinder repairs, boring & sleeve manufacture. My educational & tutoring work is done over the phone with individual people who are interested in the trade. We don’t do any work on 4 stroke heads. I’m retired & must focus on the work which I enjoy the most.
    I’m more than happy to supply a new piston & do the work on your cylinder. Thank you for showing interest on the cylinder repair trade. Call me most any time if you want to talk on the phone. This is a long weekend for me, I’m at 541-508-3944, evenings are the best time for me.

    All the best
    JT

  14. #59
    Join Date
    Dec 2015
    Location
    East Kingston, NH
    --
    91
    I wish there were more shops like this on the east coast.....I'd love to do this kind of work...too bad I'm old now, I should have done this sooner.
    '85 ATC350X
    '85 ATC110
    '85 ATC200X (gone)
    '84 ATC125m (gone)
    '86 Tecate 250 (gone)

  15. #60
    Join Date
    Aug 2015
    Location
    Portland Oregon
    --
    174
    Study, Study, Study

//ArrowChat Integreation Code //