Adding the 84 TRX200 swing arm was easy to figure out and actually do, a fair amount of work too but not bad. The TRX200 parts used were the swing arm and frame bolts, driveshaft, driveshaft cover, rear foot brake cable and rear shock. I bought all these part off ebay for $130, close to half of that went for shipping. I should say I'm a Carpenter with welding and measuring skills, plus an ability to keep things square and parrallel, not a professional fabricator with a shop full of tools.
Getting started, I bought two M30x1.5 nuts from Fastenal for the swing arm mount. I used the 200ES rear axle and made my own lower shock mount. The hardest part was figuring out where the swing arm attachment nuts went, the rest was basic cut/fit/weld. The only tools I used were a few handheld grinders, one flap wheel and one cut-off wheel, a stick welder, a tape measure and a few clamps, an a level too.
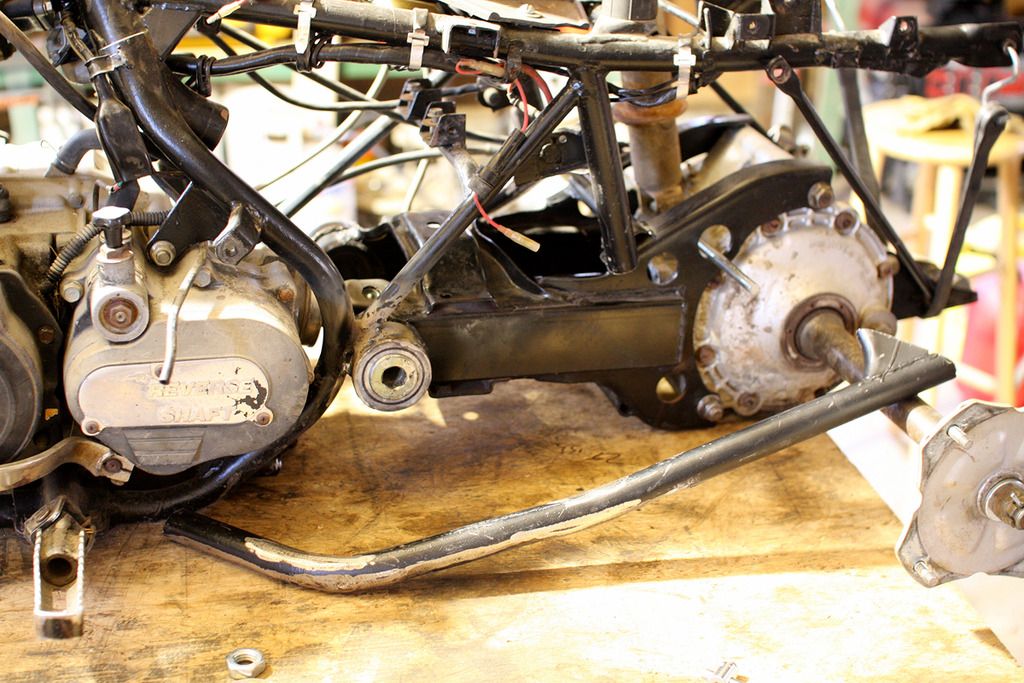
After I cut off the portion of frame I knew had to go I attached one side of the TRX200 u-joint (after removing the bearing) on the sub transmissions output shaft. I bought a 30 piece of 5/8 all-thread that fit the holes of the u-joint yoke. I took the M30x1.5 nuts and welded them each into 2 pieces of 2 iron pipe from a plumbing supply shop, they were cut on a thread cutter so they had square ends and the M30 nuts fit perfectly with a light press fit. The nuts-welded-to-pipe then slid over the all-thread and I used 5/8" nuts and washers on both sides to get the exact distance from the u-joint to swing arm on each side. The extra length of all thread was all to one side so I could use a level.
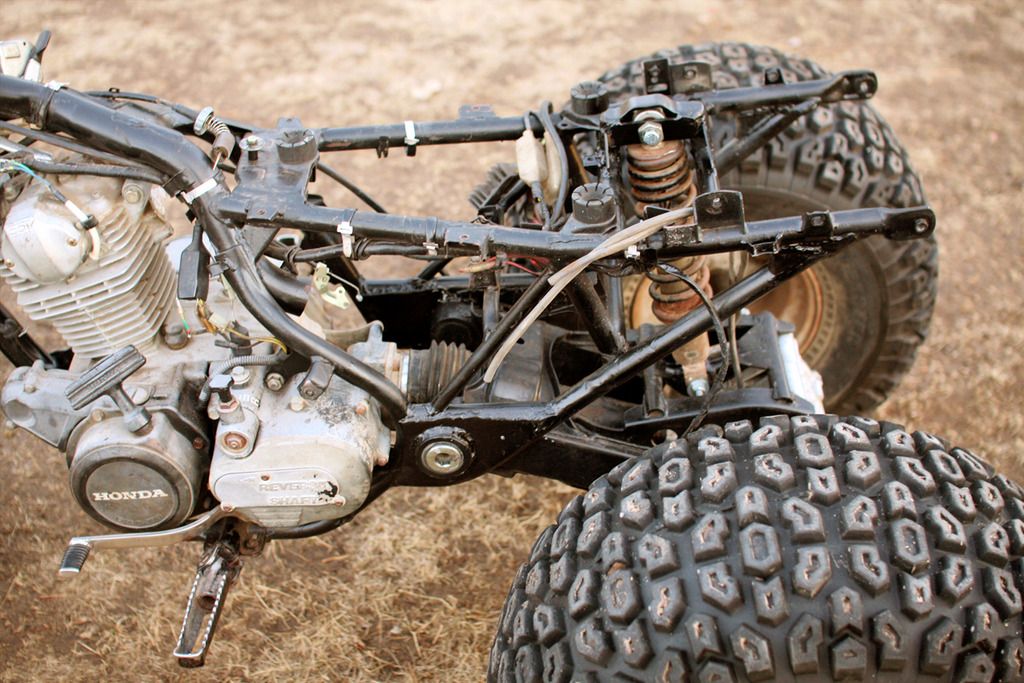
These first pictures I took when I was trying to figure out where to put the shock mount. If I had intended to post a how to I would have done a better job but I'll give the pictures I got.
The left side tacked right to the frame after a small removal with the flap wheel.
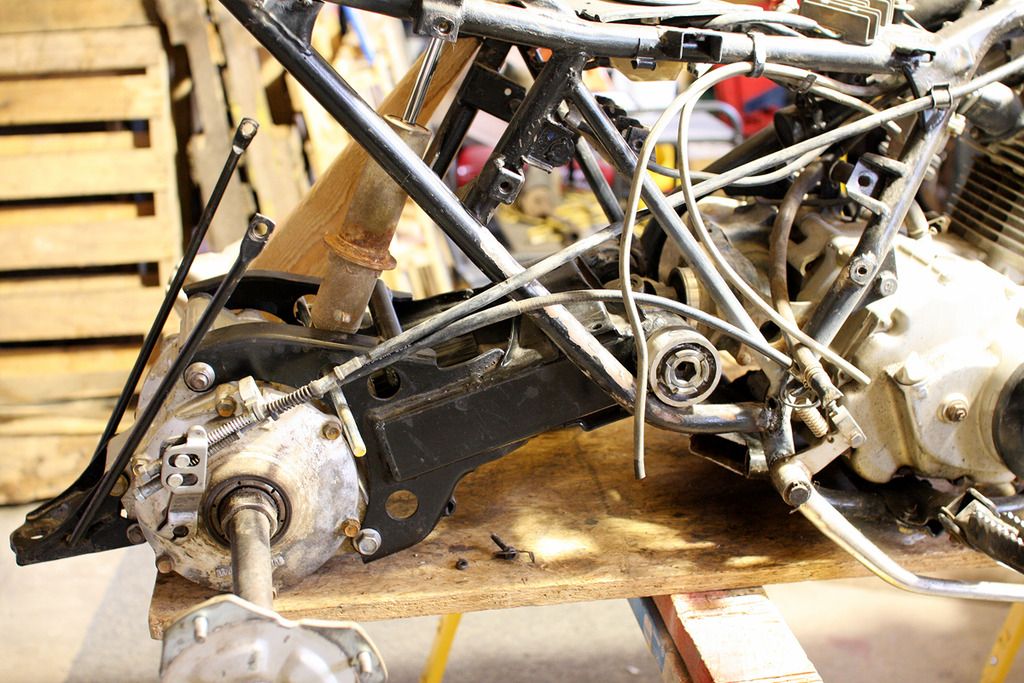
I had to reattach/relocate the rear frame piece to have something to tack this side to.
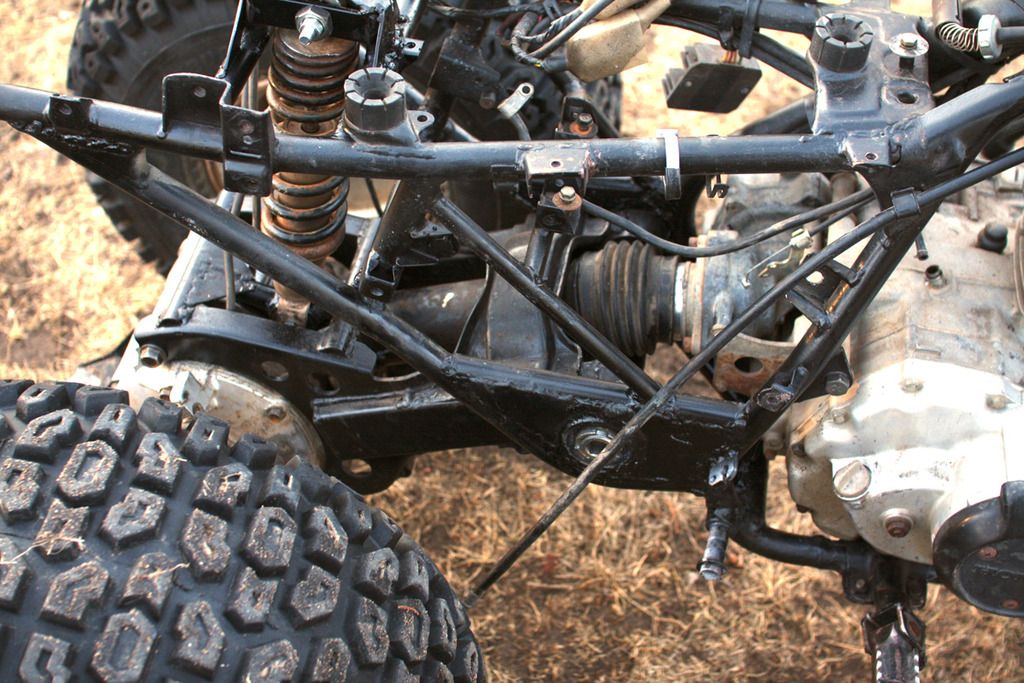
Once the two side were tacked I removed the swing arm and engine then started fitting pieces and tacking. I plated the sides, inside and out with 12 gauge steel. I also put the piece of all thread back on to help keep the tacked nuts square while welding. Here it is as a roller.
Other side, you can't see but I also added diagonals from below the nuts to the bottom crossmember so the frame can't get wider as time goes by.
Lower rear shock mount welded to swing arm instead of attaching to the center section
Got it where I could test it out, wheelbase is 2 3/4" longer
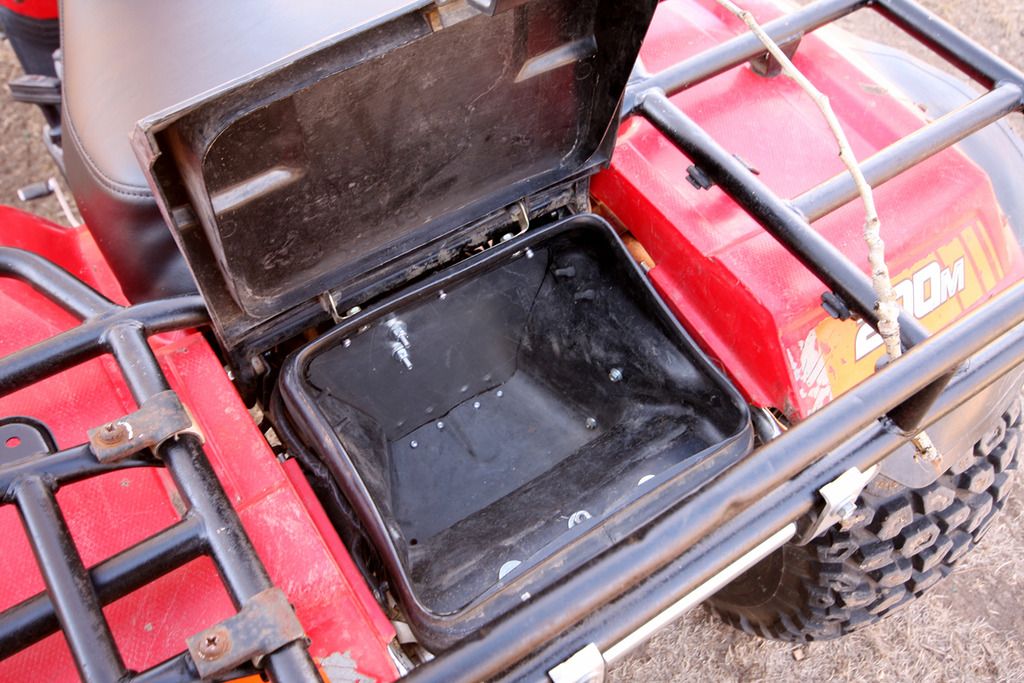
I had to cut out part of the tool box
The shock is where the tool kit was
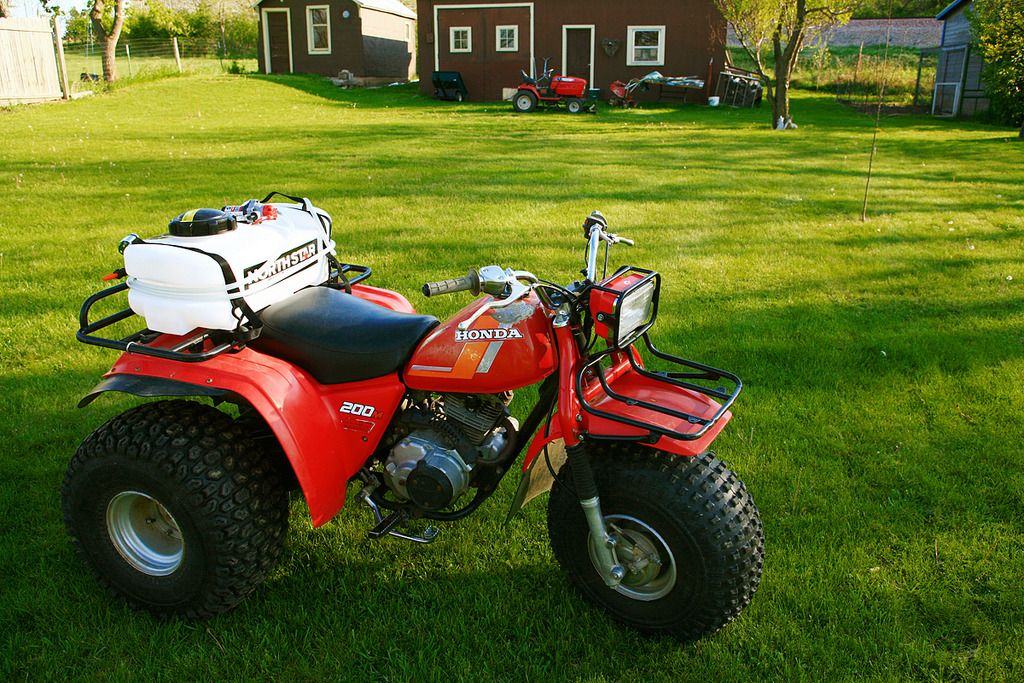
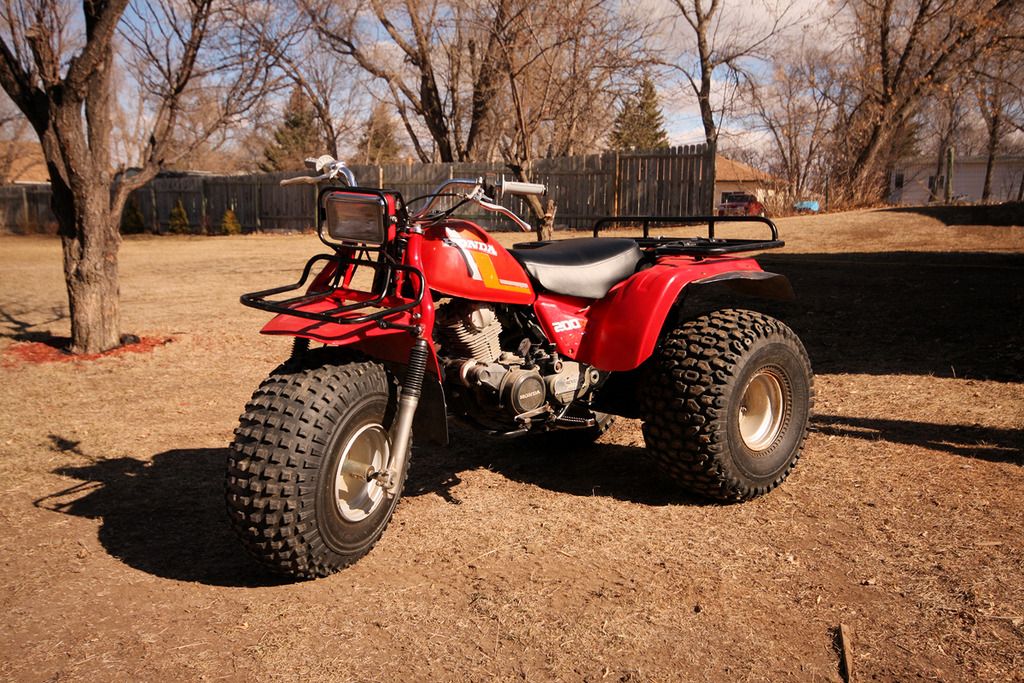
Had to get grips, fork boots and a seat cover and I'm ready to ride!


 Reply With Quote

 )
)

 i am abotu to start restoring work on a 200es myself and will look at doign this exact same thing but with a new shock to use.