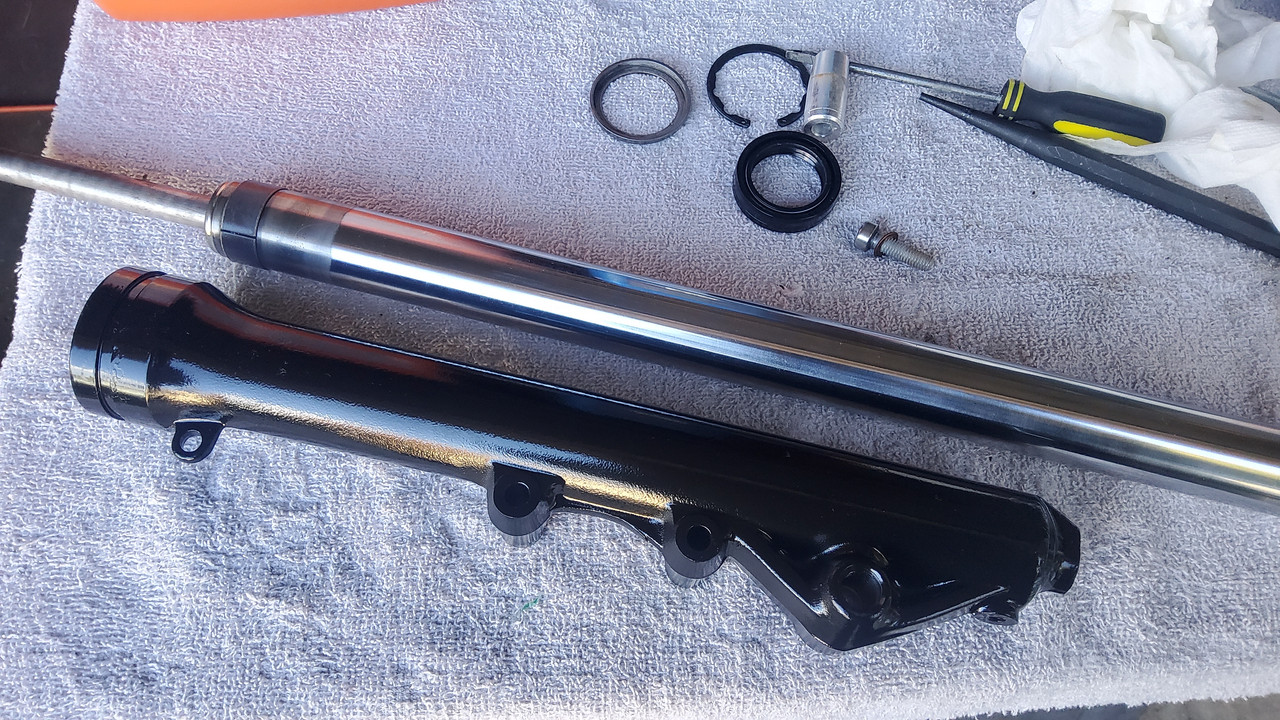
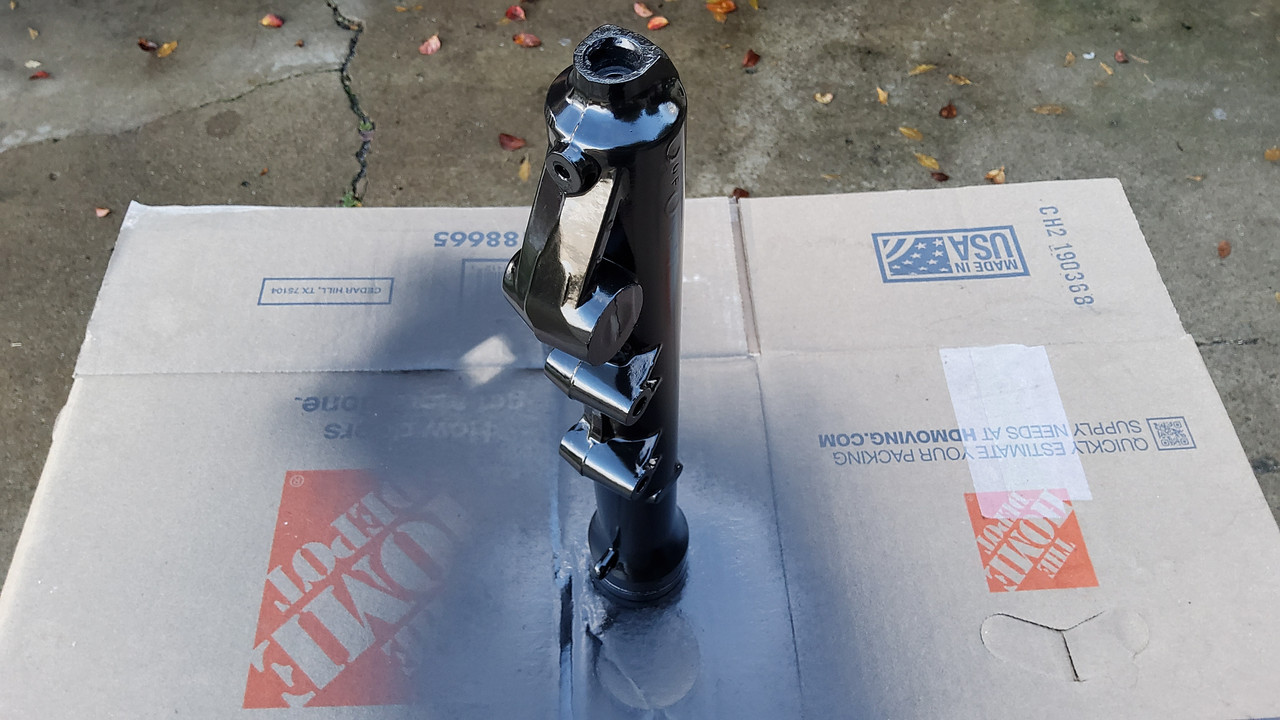
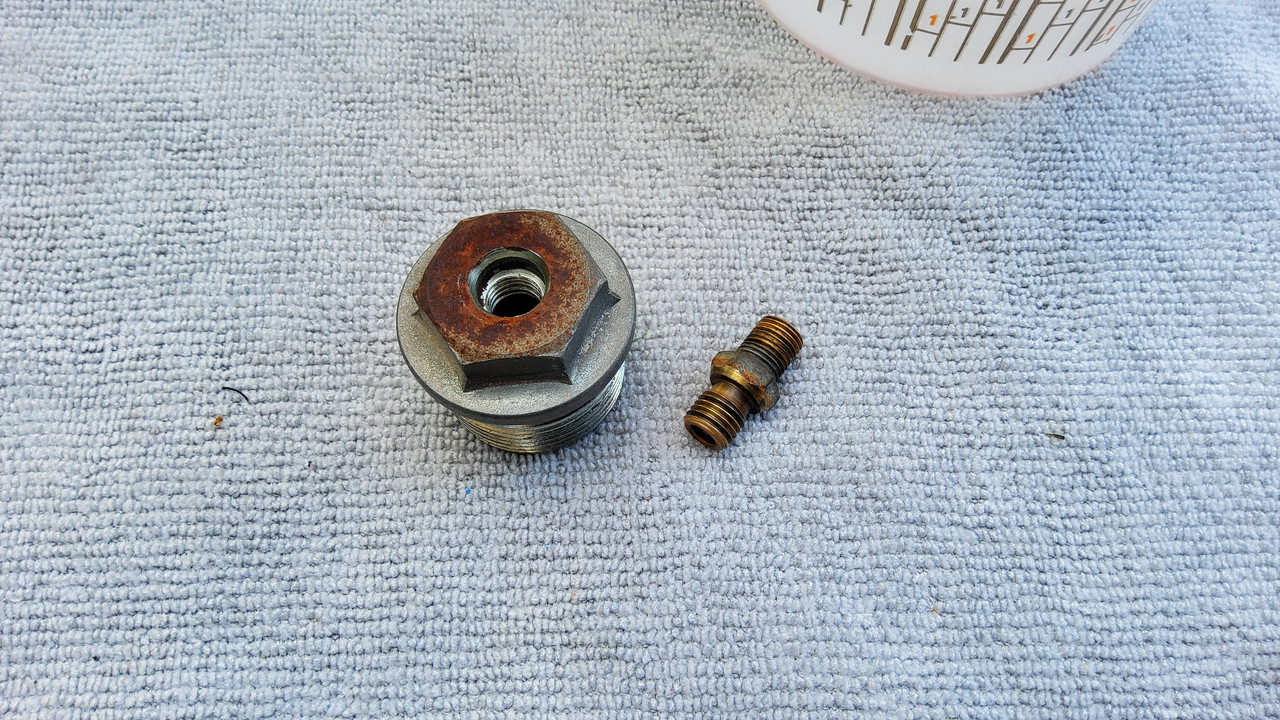
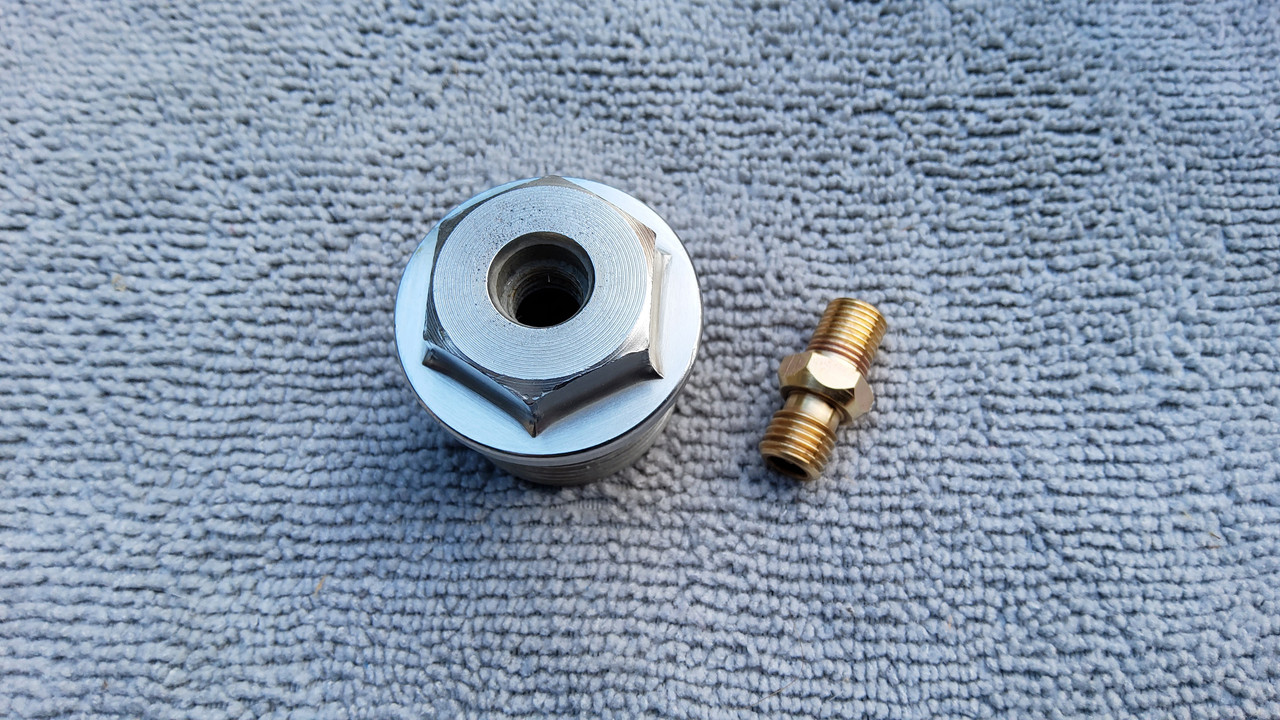
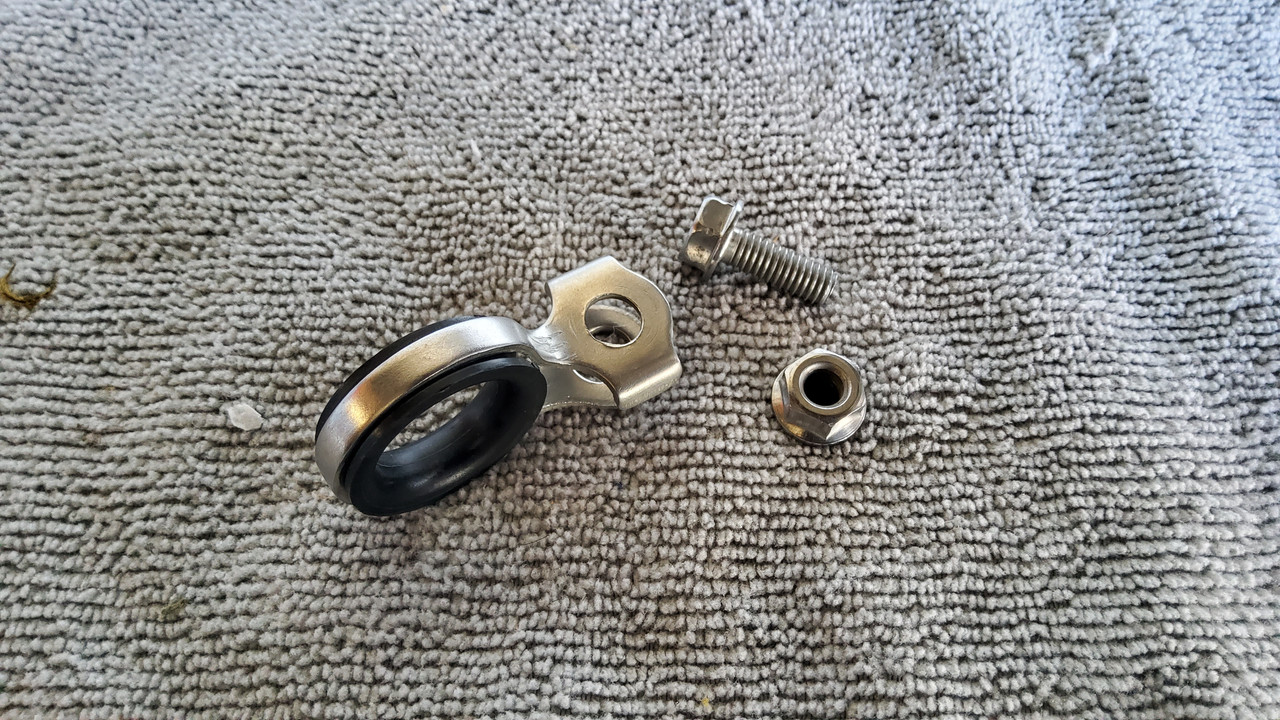
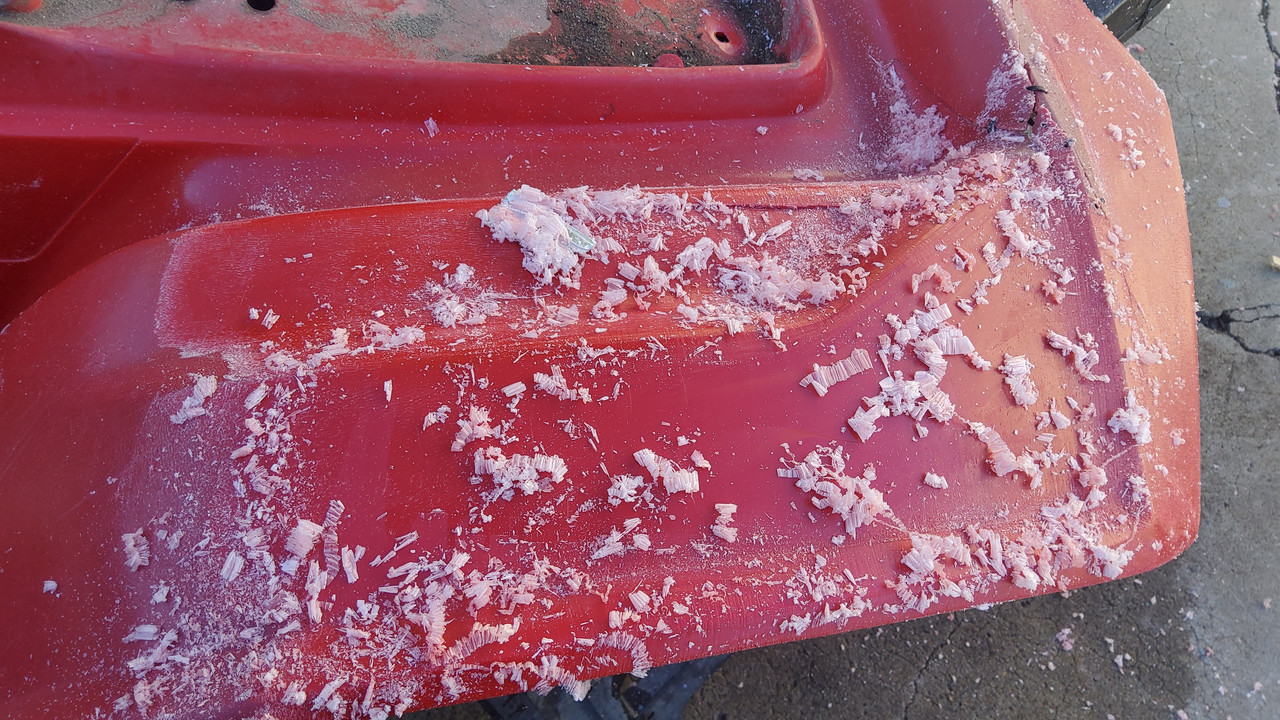
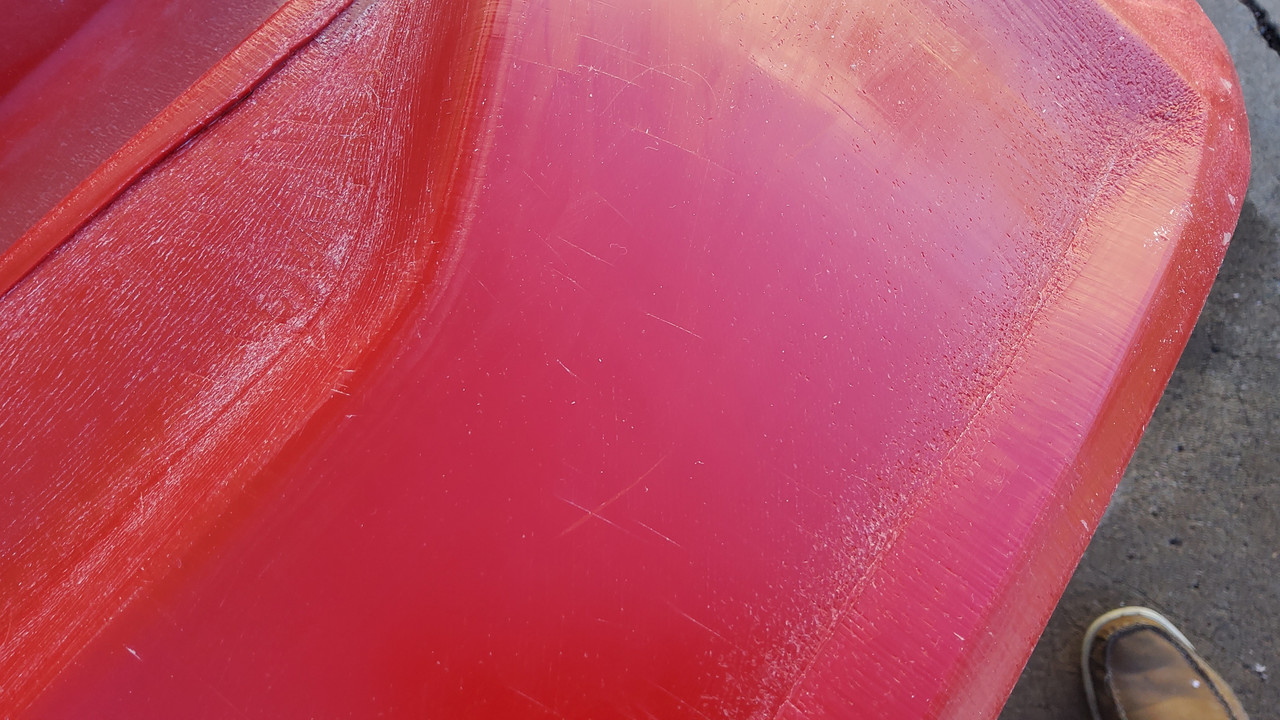
Awesome build! I finally just finished reading the whole thing, a lot of the pictures were super helpful as I'm on the first steps of basically the same thing. That plating setup is very cool, I still haven't decided what to do with the hardware and little parts that aren't practical to powdercoat, and that bright finish looks great.
I also agree that I would not run those old brake lines. I've seen some bad stuff with old lines on cars, on a trike that could mean a life changing crash if your brakes don't work... or work too much. If you have any hydraulic shops near you (like plows and dump equipment) sometimes they will be set up to custom make brake hoses. We have had a bunch of whole-car soft line systems made locally like that, it's not very expensive if you know exactly what you need or if you have the old line to bring as a template.

 Reply With Quote