


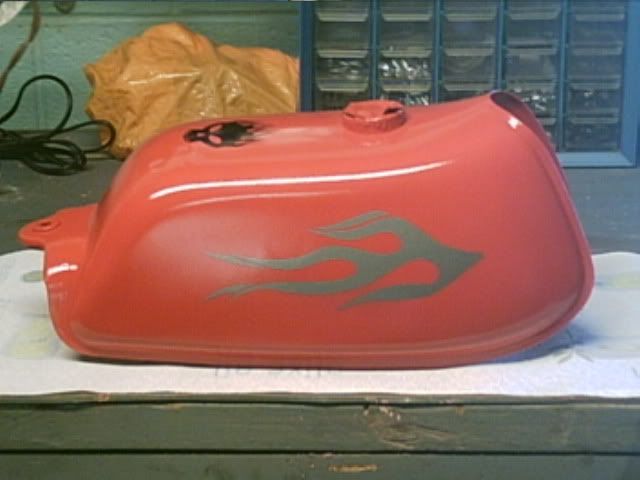
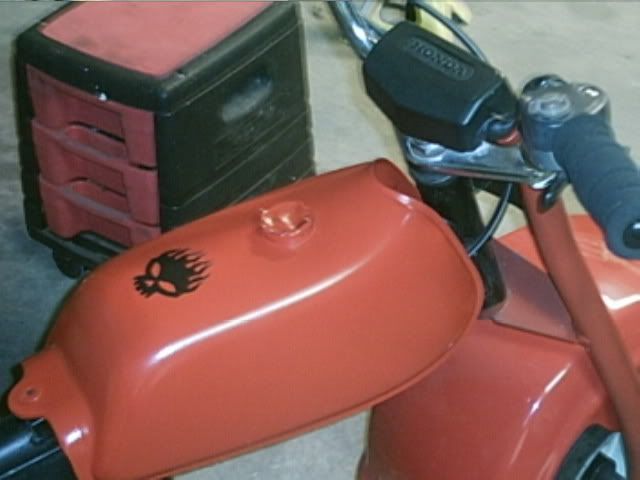
This Big Red 200 tank is in great shape on the inside (you wouldn't think so) and was wondering how to paint it proper. I want to leave decals on, mask them up and use a spray can.
Every time I use body putty to fill in small dents on other tanks it looked and felt nice and smooth until I went to paint that is, then you could see where I tried to blend the edge of the putty on to tank beyond dent. What am I doing wrong?
This tank has no dents but needs some kind of filler as you can see once I sand it. What kind of filler should I use? Also a bit worried if I sand the heavy part (top rear) it might open up some small holes?
I have a freind that did gourgous work with a spray can which amazed me. I think he wet sanded it after he painted it but not sure if he recoated again or what?
All these ?'s really amount to what is the very 1st step and the very last step on painting this.
What brand paint and color in a can shall I use? I'm selling it on ebay and just want it to look 1/2 decent for the sale + it's good experiance for me.

 Reply With Quote
 s before. I also cleared over them with a hvlp spray gun to finish them off. I used to be a painter for one of the largest dealerships in Mi, I used to paint 10 to 12 cars a day and had all the latest equipment but for the do it yourselfer these methods will work for you. I know I've left out a few things but more people will post I'm sure.


.JPG/view/)
-507076.jpg/view/)
-779926.jpg/view/)
-196033.jpg/view/)
-484114.jpg/view/)
.JPG/view/)
-215817.jpg/view/)
-708335.jpg/view/)
-69788.jpg/view/)
-182734.jpg/view/)
