Updates incoming...

 Always finding new and exciting ways to not give a hoot in hell
Catch me if you can
Always finding new and exciting ways to not give a hoot in hell
Catch me if you can
Updates incoming...
Always finding new and exciting ways to not give a hoot in hell
Catch me if you can
These are the threaded bushings that will be welded into the frame for one of the front motor mounts to bolt into. You'll notice the one isn't exactly in the center of the frame...it does look weird, and I wish it was. The problem I was facing though was with the way the bend was in the frame, that one had to be in that position for the motor mount plate to stay somewhat in the same plane as the other. You'd think it would work just the opposite, but it doesnt.
Heres the ones that are sunken inside teh frame rail, welded permanently into place now. You can look across the exhaust flange to the other rail and see where the othersides pieces are going in. Those will actually be welded onto the exterior of the frame, pointed inside. Its odd how the motor mounts are casted on these CR500 engines, everything is offset.
Always finding new and exciting ways to not give a hoot in hell
Catch me if you can
So heres just a couple pictures of the bottom cross rail and mounting tabs, plus the front mounts now that the motor is out of the way. I'm getting ready to go around and weld everything into place all the way around.
Overview of the whole frame after I just finished welding it. Some closeups coming up next.
Just another angle of pretty much the same thing. Just finished welding everything in
Heres about the best overall closeup view I could get of the cross member TIGed in, and the bottom motor mount tabs as well. The look like their up pretty high, but thats about the only way it can be and still get the bolt in and out without a bunch of crap. Got some pretty nice consitent beads, and you can see the penetration through the backside of the tabs that shows it was fusing together well.
Always finding new and exciting ways to not give a hoot in hell
Catch me if you can
Showin off my weld beads...Next up will be a preview of the new subframe style the frame will sport.
And there they are. This was SYKOs idea, mostly for aesthetic purposes. He had already lengthened the sub frame how he liked it for his size, and he mentioned trying to do this for a little bit of an alternative look and style thats not really seen elsewhere. Routing the exhaust and muffler around it might end up being slightly challenging.
And....thats pretty much where I'm at right now. Finish up the subframe, and its ready to make a roller out of, start working on the exhaust.
The purveyor of "Plan B"
Teaching quads a lesson
Nice! Any more gussets on the bottom side of that frame? Also, are you guys at all worried that if it takes a hard hit to the tail of the subframe, IE looping it out that there may not be enough strength in the angle of the dangle to take the blow?
"Yes its broken, but does that really surprise you?."
"What happened? What does it look like happened?!?!"
Always finding new and exciting ways to not give a hoot in hell
Catch me if you can
I do plan outside gussets from where the pro-peg mounts are to the cradle tubes. I'd like to do inside ones as well, but that is going to be tricky with the fitment of the motor down in there.
As far as the subframe, yes, I'm a little concerned about it. The biggest thing I think is how it might be able to twist. As far as just bending down, I think it'll be ok for that.
Check my feedback before buying from me
Catch me if you can
I think........I think.......I just skeeted all over my keyboard!!
thats sickness X a million!!
Got The Holeshot
Arm chair racerJust too addicted
Wow amazing work that this is going to be too nice to tear up........ or so nice your not going to ...... nope still not it...... hmmm what am I looking for????? WoW I can't wait to see that thing ripping it up!!!!!
Last edited by KILLER; 54 Minutes Ago at 06:17 PM. Reason: beer
Always finding new and exciting ways to not give a hoot in hell
Catch me if you can
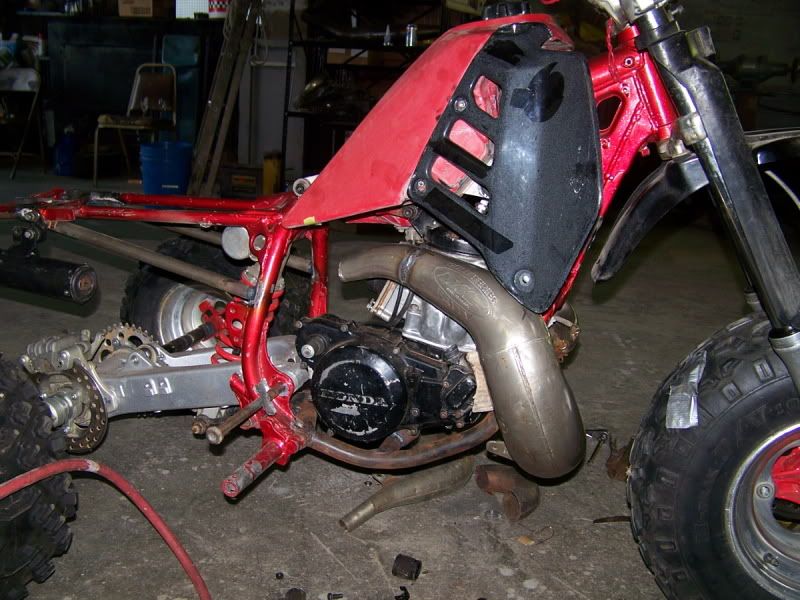
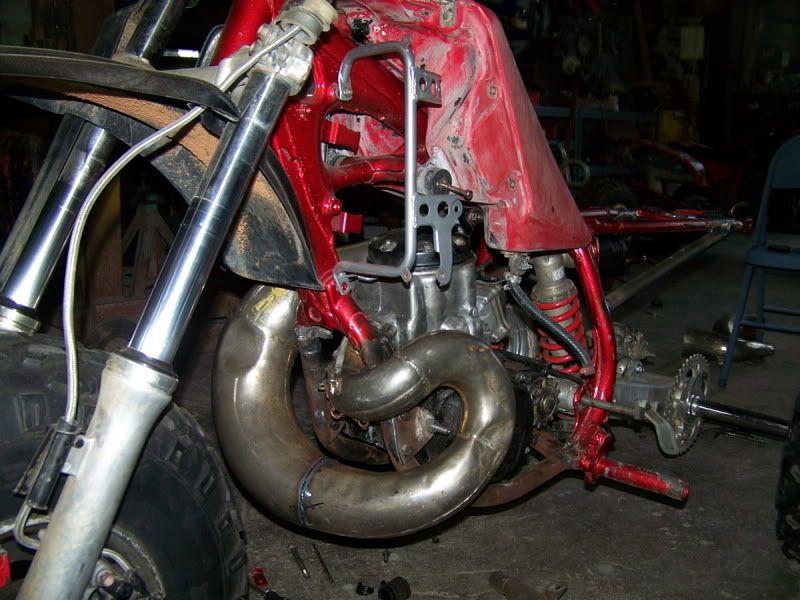
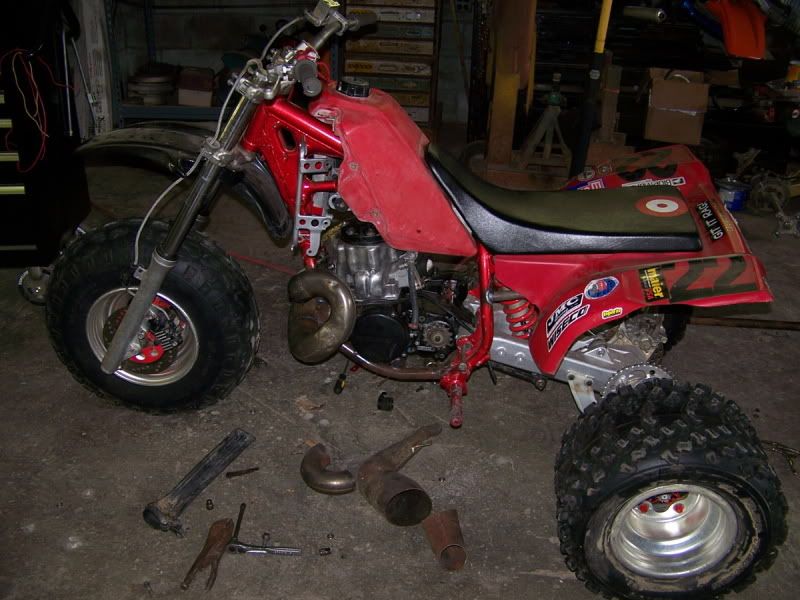
Welp this is a roller now and pretty much waiting for syko to come down and us do up the exhaust on it.
Testicles between my toes at the devils backbone
Teaching quads a lesson
That looks like its gonna be AWSOME! Those a some freakin awsome welds Billy.
TF 07,08,09,10,11,12,13,14!
Raffa's IceFest 08, 09, 10,11,13!
SAY IT!!!!!BUD LIGHTS AND RED LIGHTS!!!!!!
Power User
Roostin Away
nice welds, how do you contort yourself to make it look so even going around. do you flip the frame at all to weld from the top? very nice
Check my feedback before buying from me
Catch me if you can
Originally Posted by Billy Golightly

I may call you in a bit, my server for my internet service is underwater so I wont have net/phone/cable for maybe a week! I may swing down that way after lunch, but dunno just yet I will hit you up from the cell later.
Always finding new and exciting ways to not give a hoot in hell
Catch me if you can
Thanks guys. I wish I could find a way to do this for a living...I enjoy putting together and building stuff like this a lot. Therapeutic and relaxing actually, which is really hard for me to find now-a-days.
In most of the welding positions, I actually go about 3/4 of the way around the joints before I stop. Its when I get to the very bottom or wherever it is that I can't see ANYTHING that I stop and restart. The sides of the joints though and going around, with a little bit of practice, you learn to kind of track where your pool has been going around the joint, and you just kind of twist the tig torch around as you go and you can feed the filler rod in from the top and kind of carry it down to where you need. I've definitely gotten a lot better in the last year or two then I use to be, for sure. I've love to try a new inverter machine like a Dynasty or something and see how I done.
Power User
Roostin Away
ya i have the 200dx. I can only get it to look that good for 1/2 the weld. The other half, when i'm out of position looks like I welded it using my feet
Check my feedback before buying from me
Catch me if you can
updates!
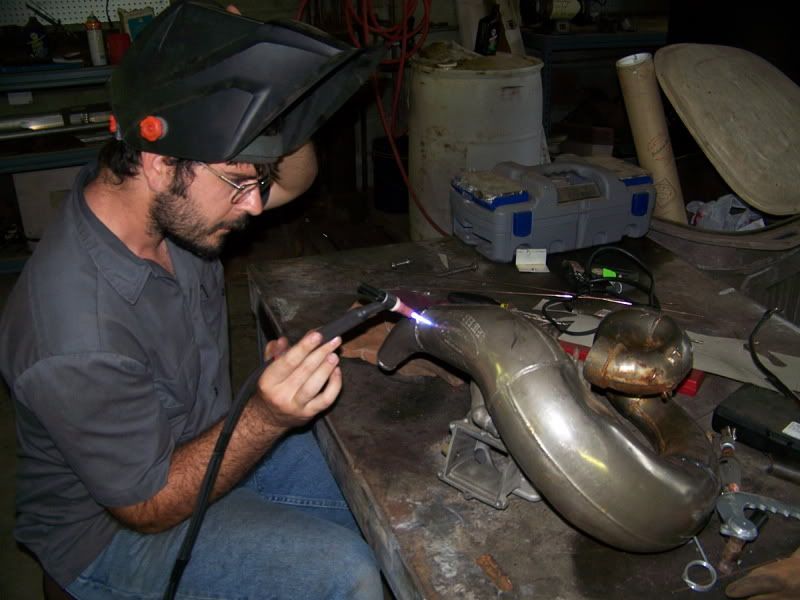
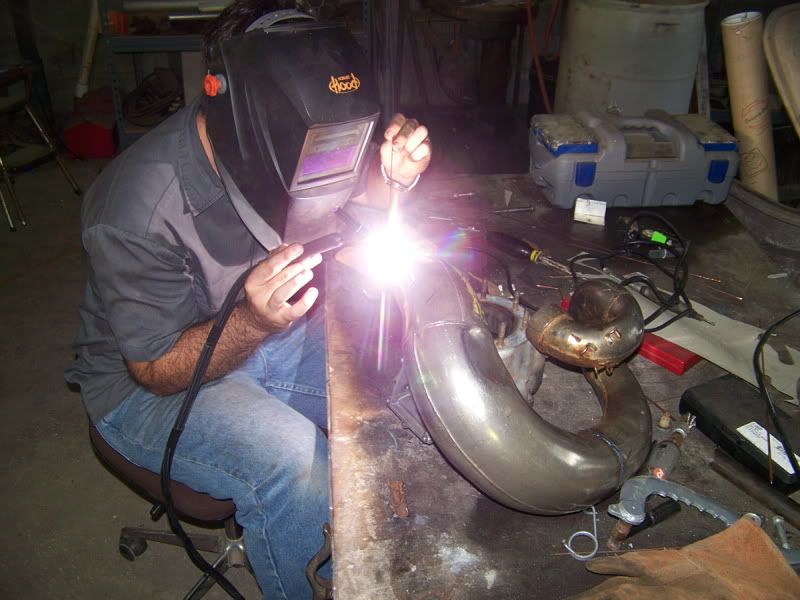
went down to the LAIR yesturday to mock up my pipe for my five oh oh
it was a intersting day to say the lease....(very iside JOKE) lol
so after nearly 12 hours.... me and billy mocked up my pipe....this is a temp pipe for now I will either buy a new one and mod it or contact a few companies and see if any are offerd any more.
only did 4 cuts on the pipe to make it work
89 FMF fatty

 Reply With Quote