Yamaha YTM Front Shock Disassembly How-To
Yamaha YTM Front Shock Disassembly How-To
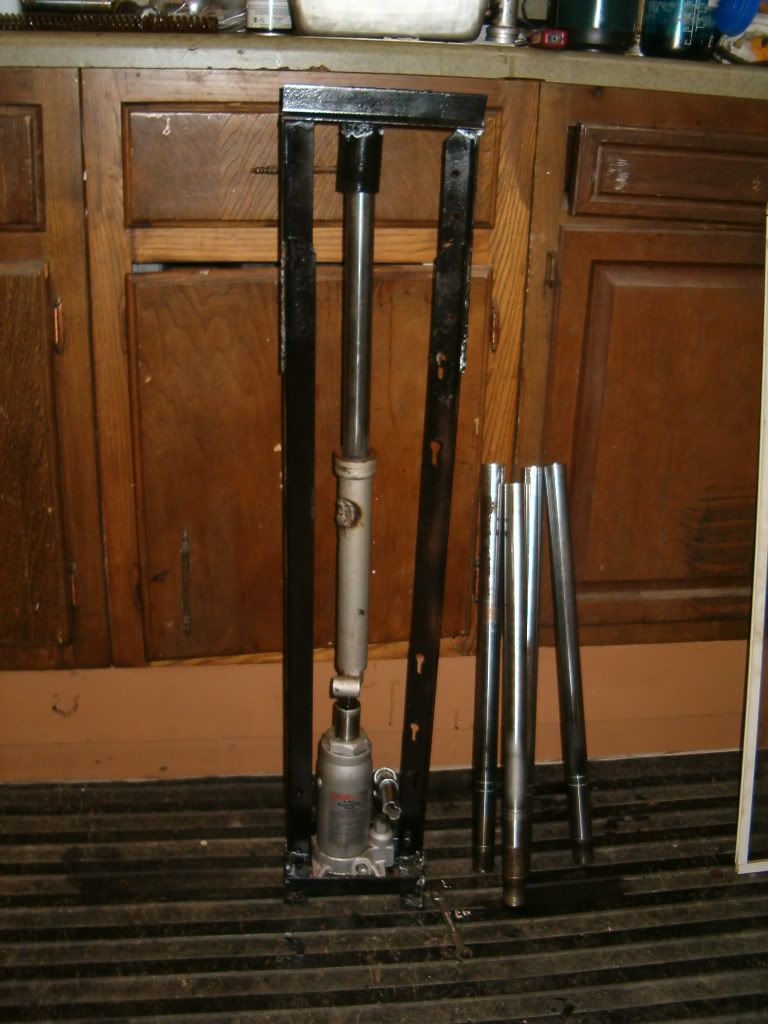
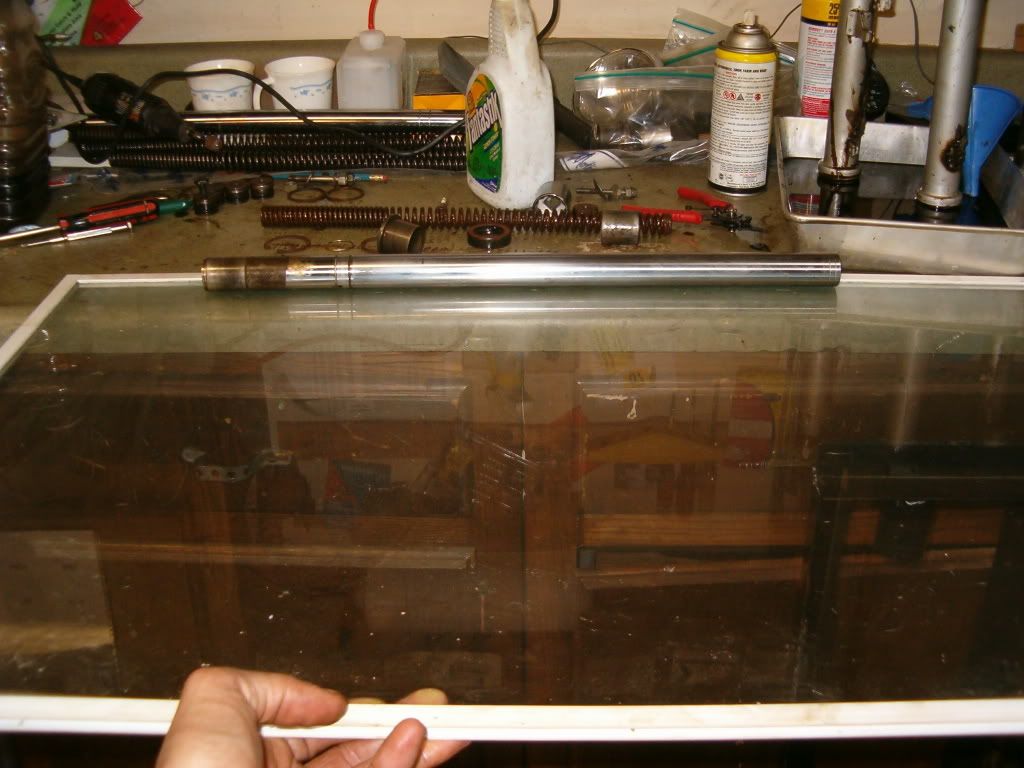
OK Yamaha had some good ideas when making the YTM series trikes but these front forks were not one of them. They do bend, and the seals are difficult to replace making them susceptible to be neglected. I will post up a How-To disassemble the front forks for maintenance. First off sorry for the poor quality pictures, it is hard to work one handed. If you have any questions please ask, even though I am no expert I may have forgotten to post up info. that I do know. Also, note that I put wood blocks in my vise to keep from damaging the fork tubes. Pictures are from a YTM 200 front shock, the 225 DX uses a very similar shock, if there are any noteworthy differences I will post them up tomorrow when I pull apart a set of those (I cant think of any huge changes).
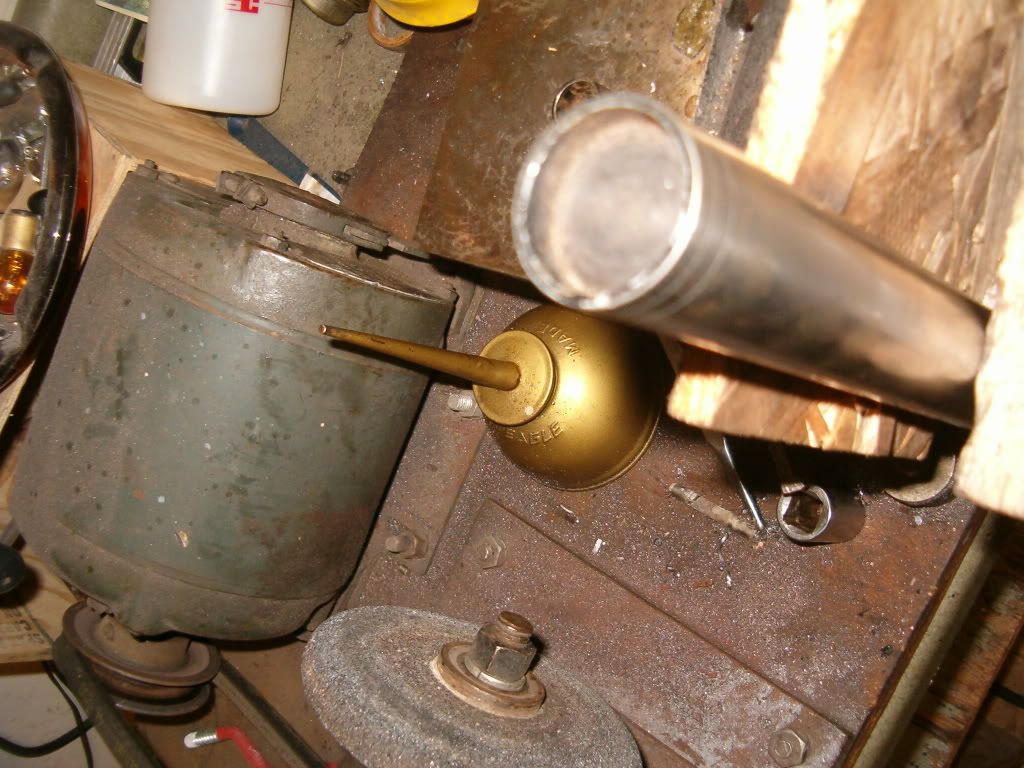
The Shock
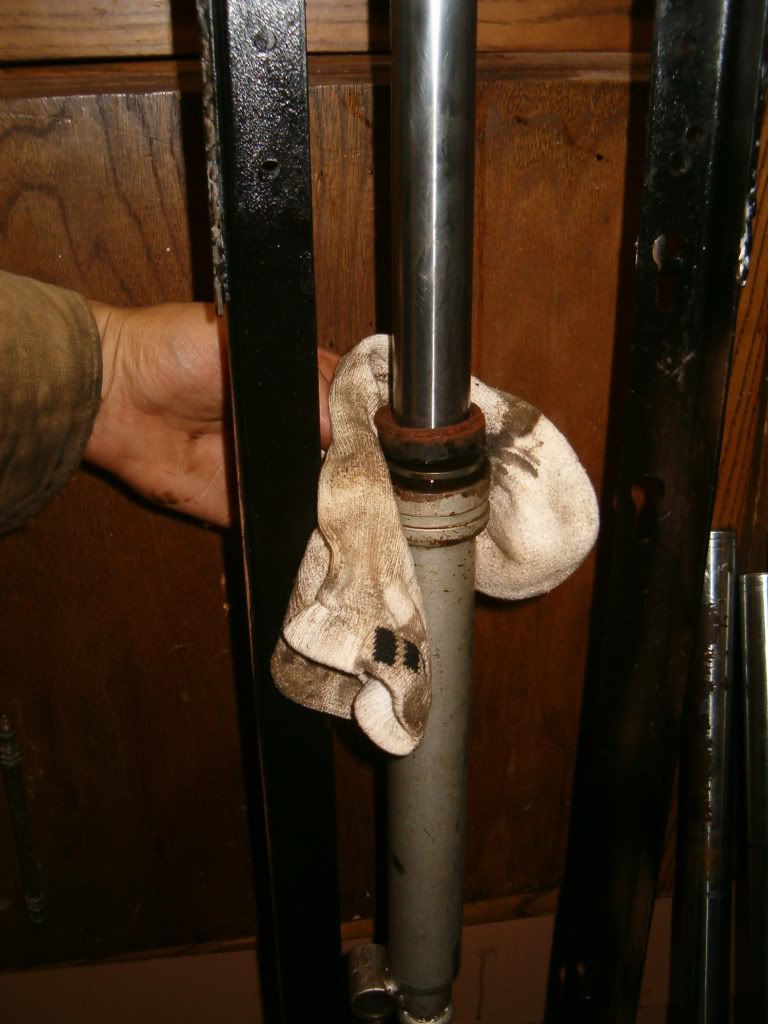
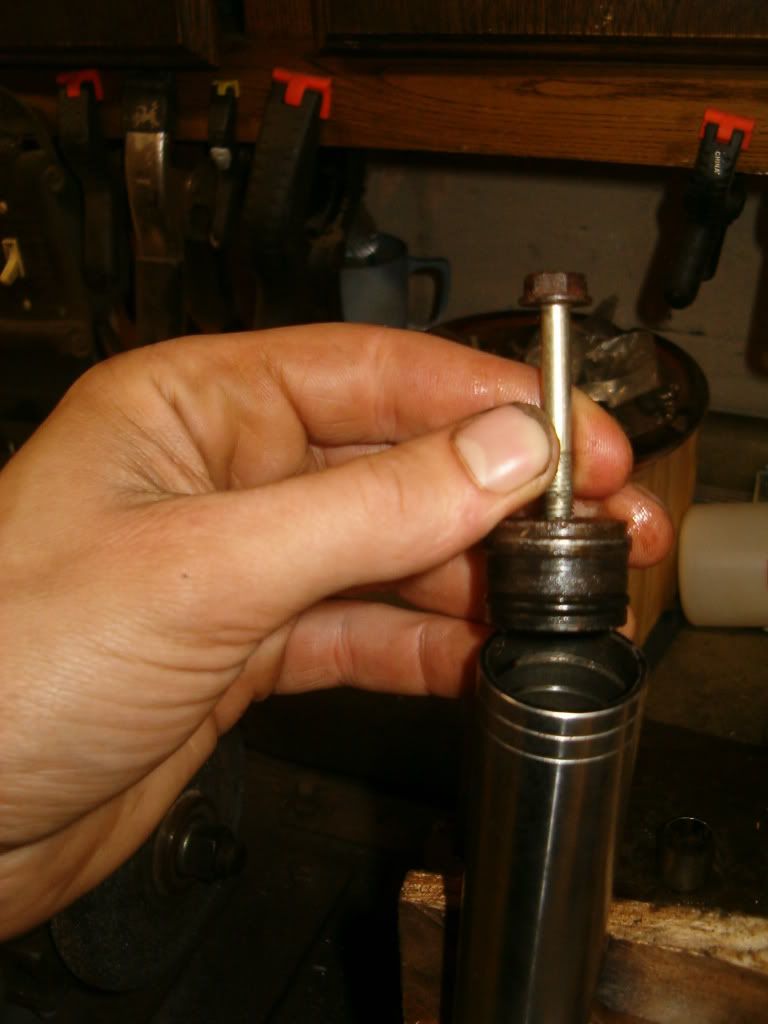
Top fork cap. These can be a pain. You are supposed to be able to press down the cap to expose a ring clip that you can remove. With the clip removed the cap pops out the top of the fork tube. Most of the time its not this simple as the caps rust up and get stuck. If the cap get stuck see below.
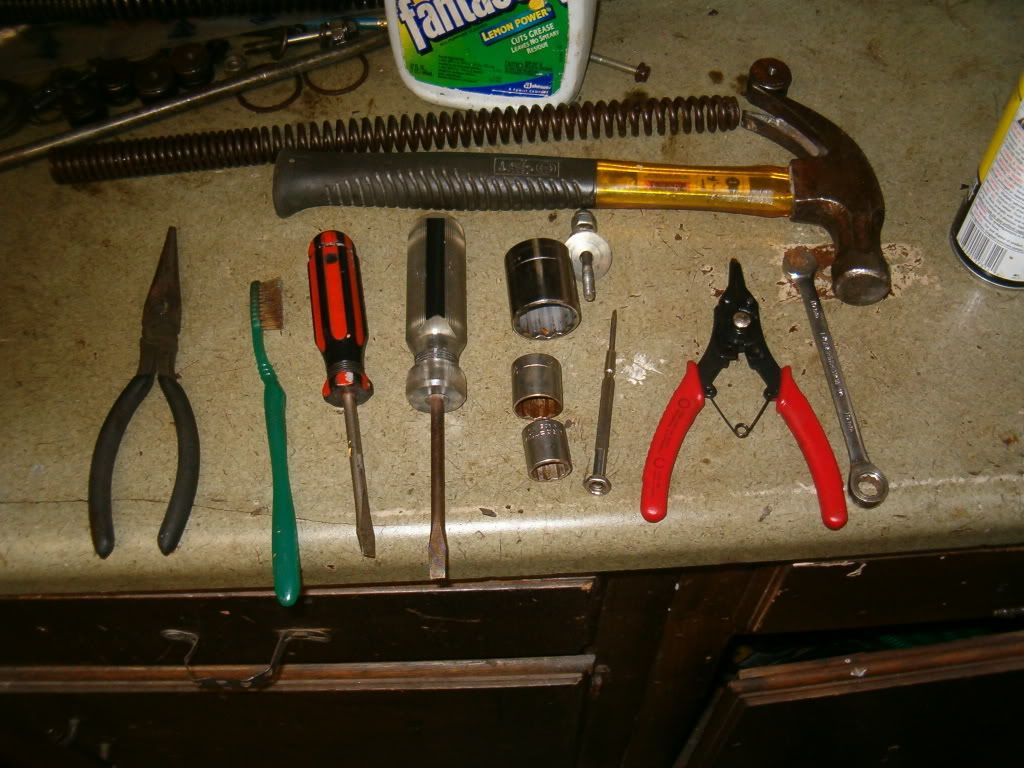
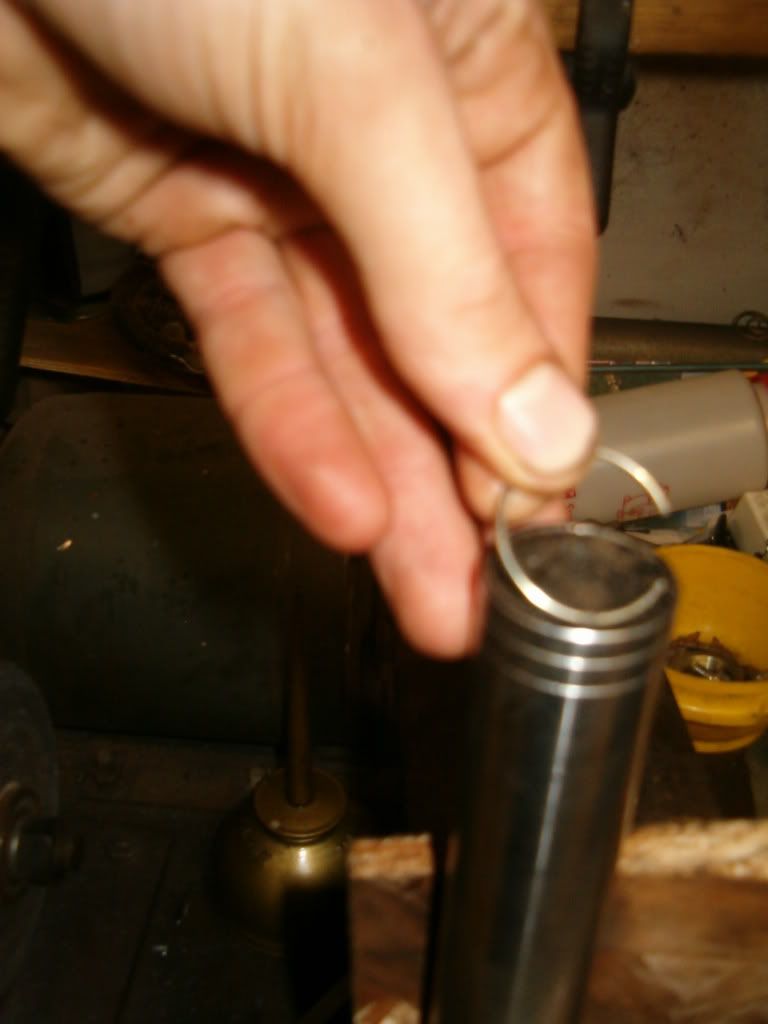
I press down the cap with a screwdriver or punch then use a small flat tip screwdriver to pry out the ring. You can see the ring in the picture below. I take the screw driver at about a 60 degree angle and pry down on the ring near the end then when it pops out of the grove I slid another flat tip screwdriver under it and pry it up and work the lower screwdriver around till the ring is out.
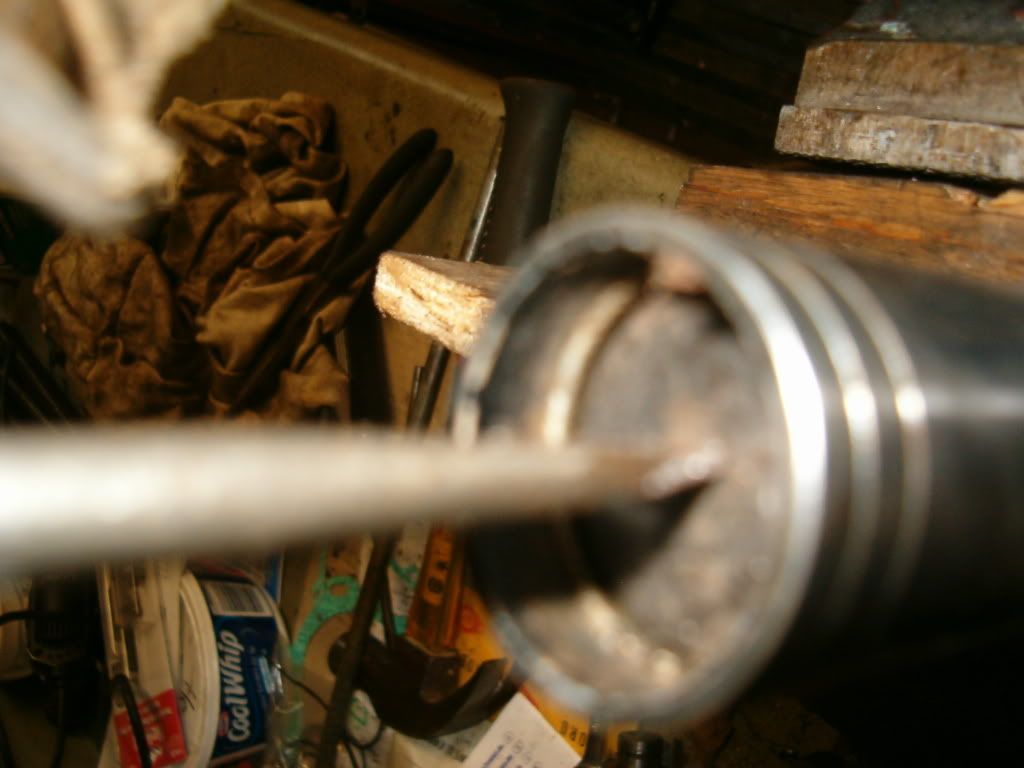
The Ring
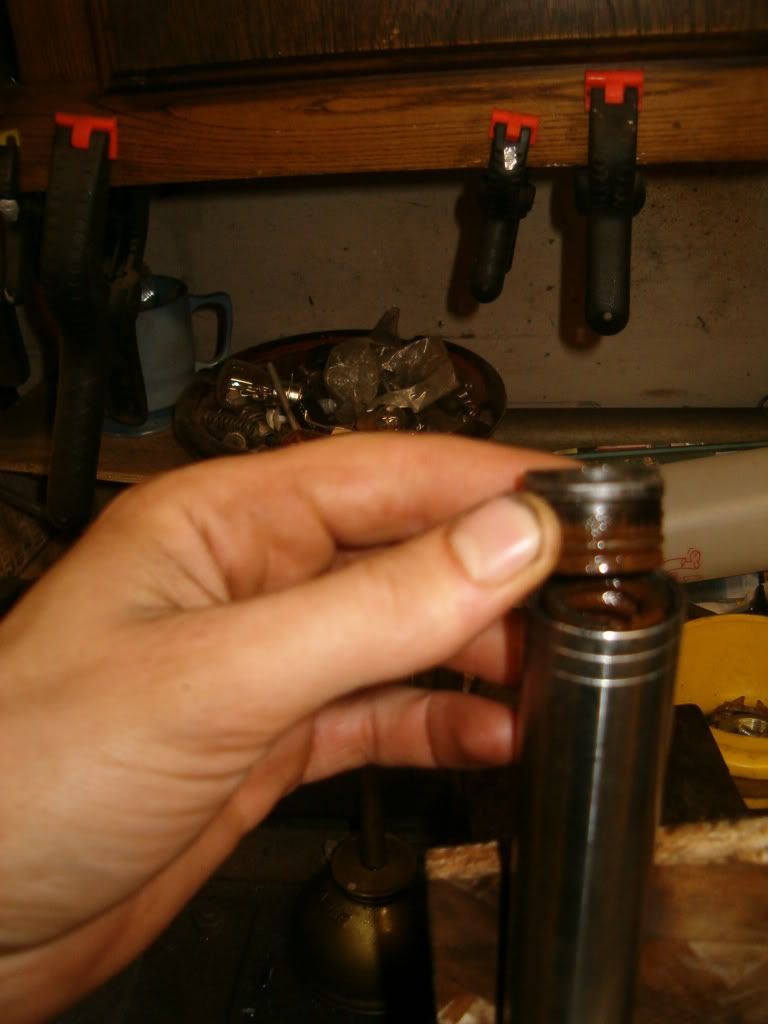
The Cap should pop off once the ring is removed. Sometimes you may have to tap on it with a  and socket .
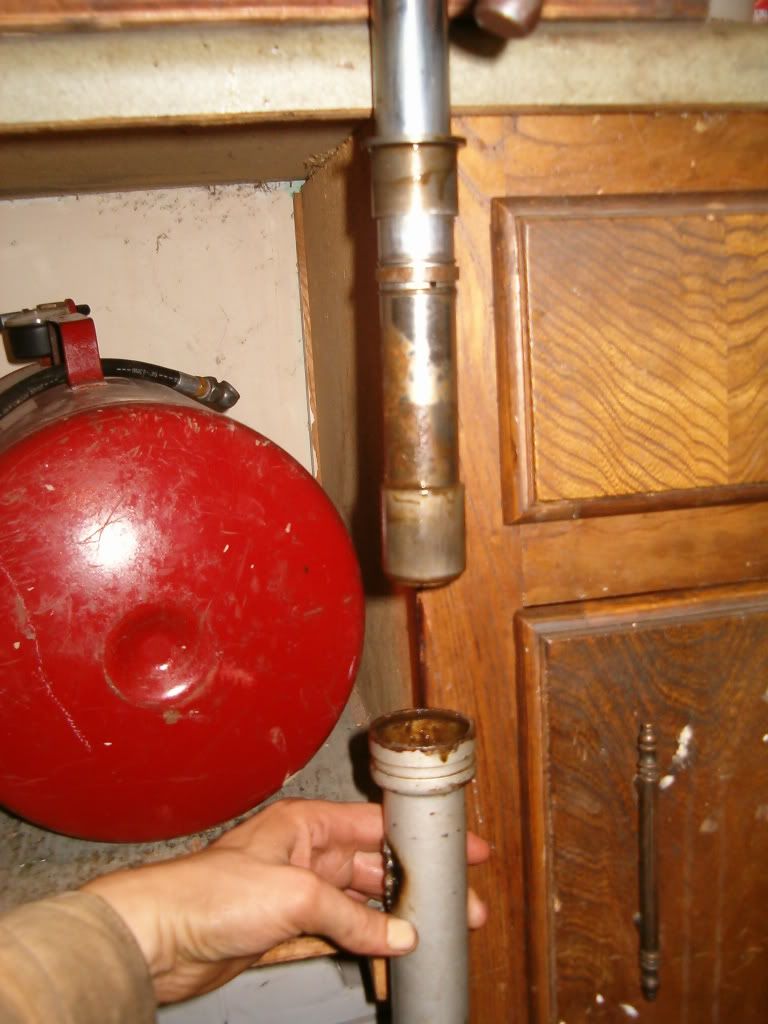
If the Cap Gets Stuck Read This
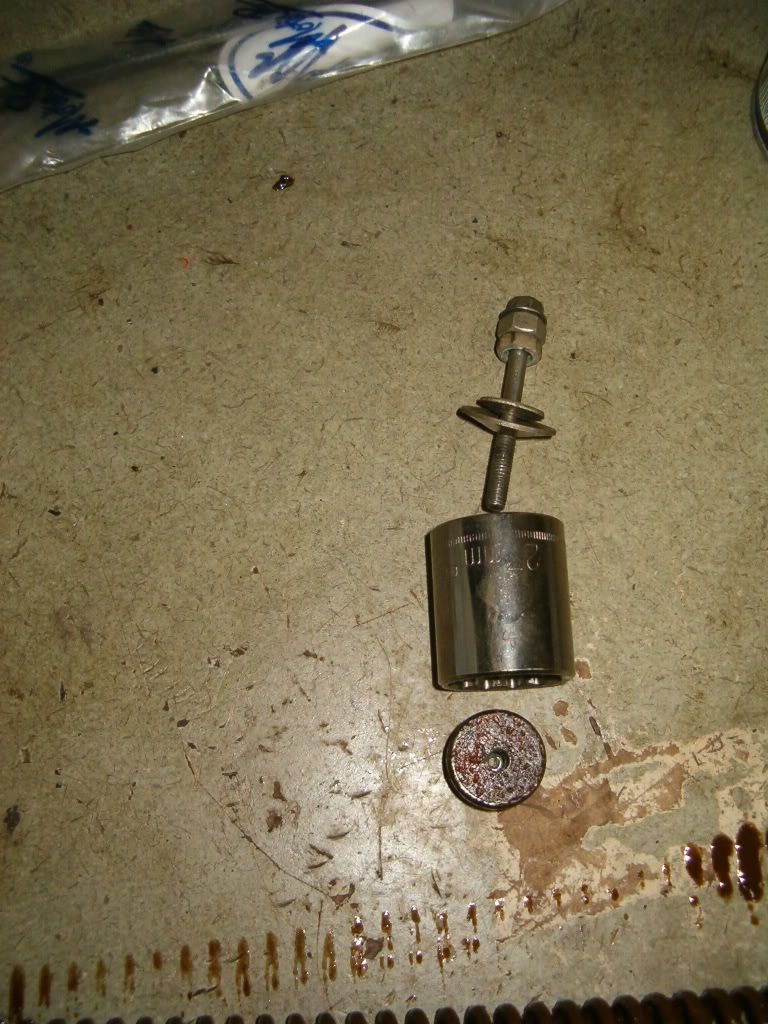
When the cap gets totally stuck this is what I do. I center punch the middle of the cap and drill a hole most of the way through the cap. Next I tap the hole. Then I put a socket on top of the fork (27mm fits the outside of the tube but the cap is smaller and will fit inside the socket, this is key). Now I thread a bolt through the socket (with the needed spacers if the screw is longer then it needs to be) and tighten it. As the screw tightens up it will pull the cap up. Just be sure you have a few threads started before the screw tries to pull the cap out, this is why I start with a little bit longer screw and spacers then back it out and add spacers after pulling the cap out a little.
Tapped Cap
Socket Puller
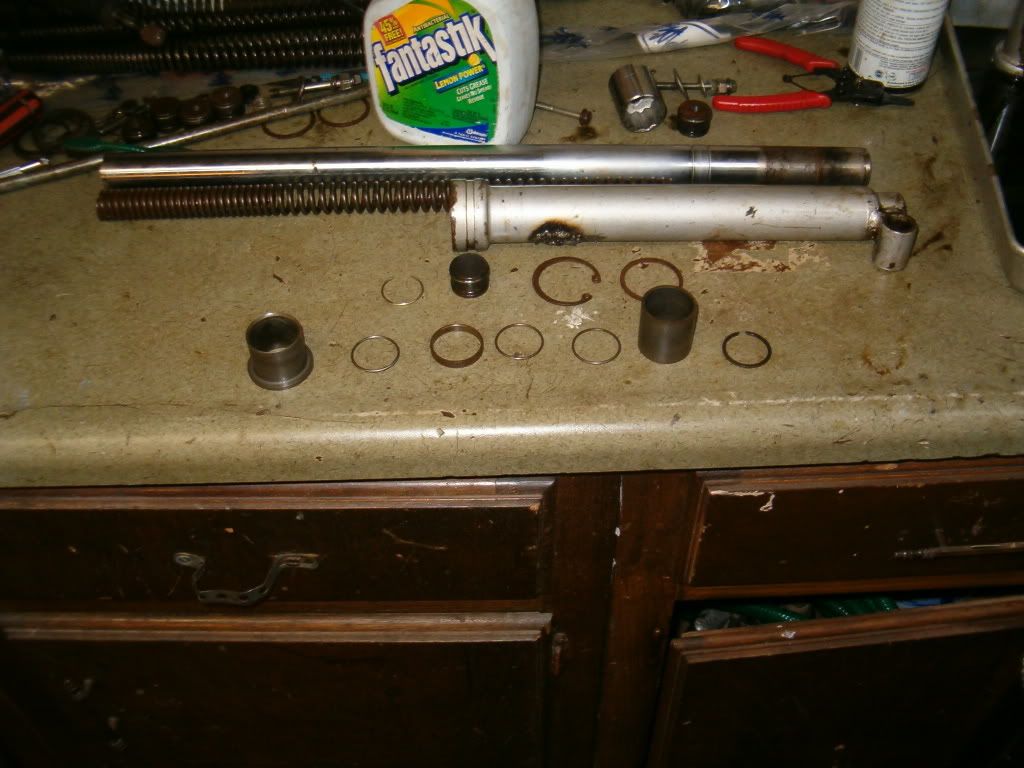
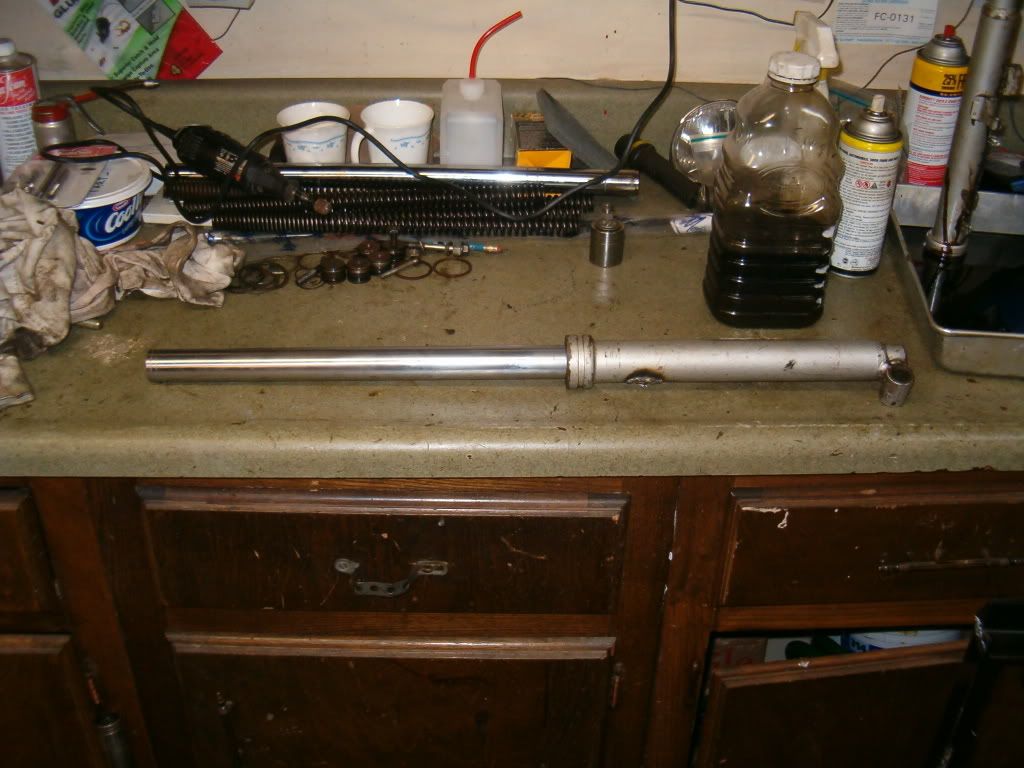
After the Cap is Removed
Pull out the spring.
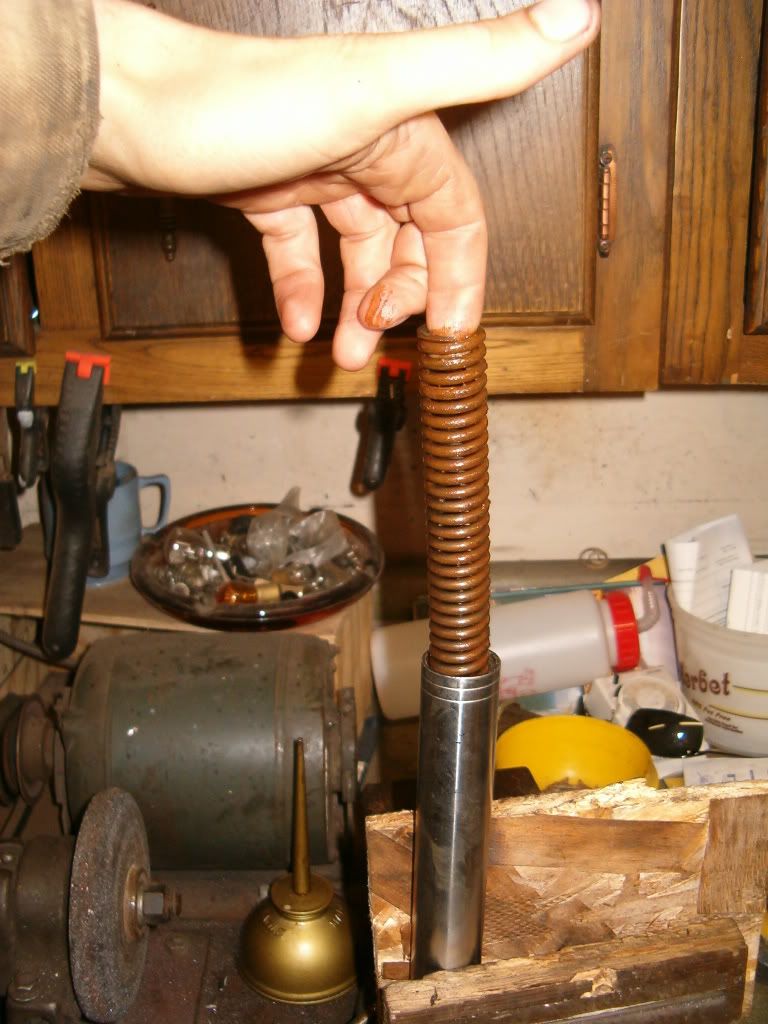
Now Fill (with the fork still extended) fill the fork with oil (I use old motor oil). You want to fill it about 1.5 from the top. Now but the cap back in and the locking ring. I would clean the inside of the tube and the cap before you put the cap back in so it doesnt get stuck. If you had to drill and tap a hole to remove the cap and you drilled too far so the hole it strait though, leave the screw sticking in the cap.
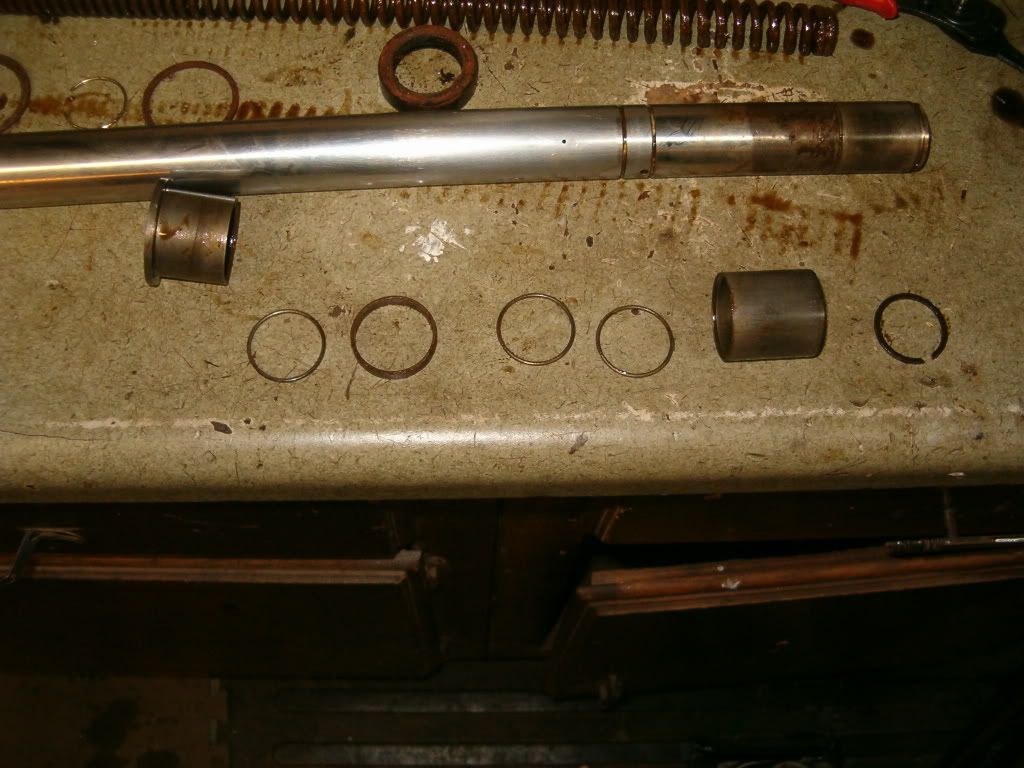
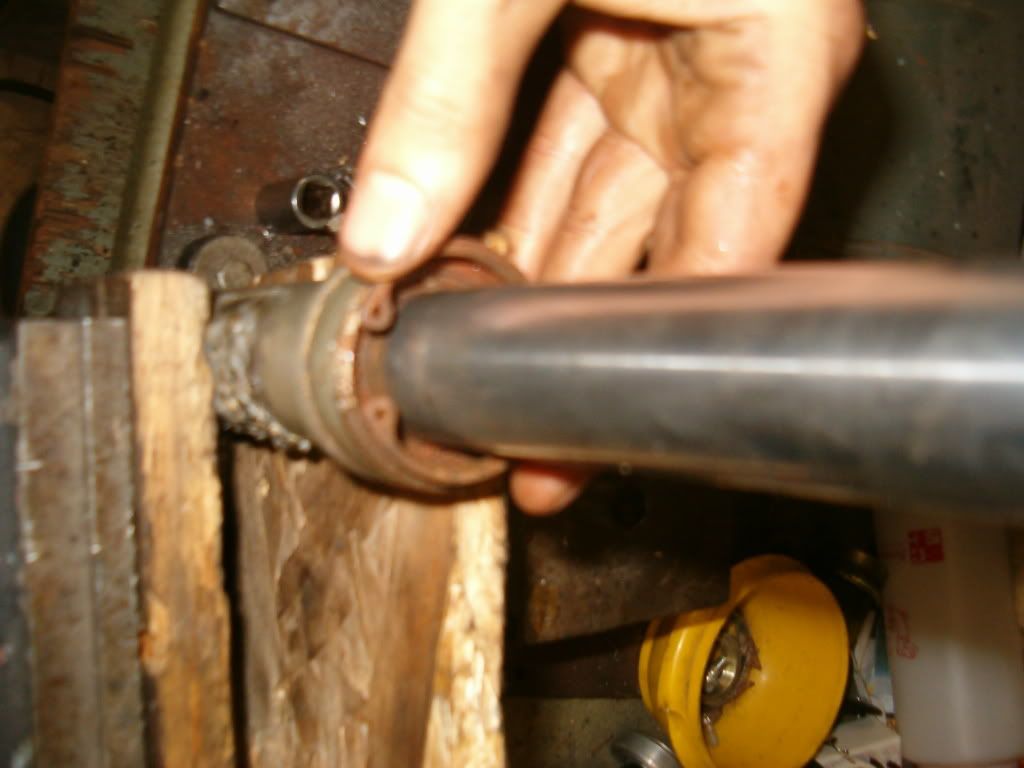
Remove The Lower Retainer Clip
You will also need to remove the lower retainer clip. Use internal clip pliers (well worth the $5 investment by the way) to remove the clip. Sometimes one side of the clip will be stuck, I take my small flat tip screwdriver to pop one side out and work my way around the tube if needed. There is a washer under the clip, dont worry about trying to pry this out and it will come out easily with the seal.
1984 Yamaha YT 60 Tri Zinger(current project)
1983 Yamaha YTM 200 (rear suspension kit)..... long term project
2004 BMW R1150R
1972 Honda CT 70
2007 Lifan 110


 Reply With Quote